Sommaire
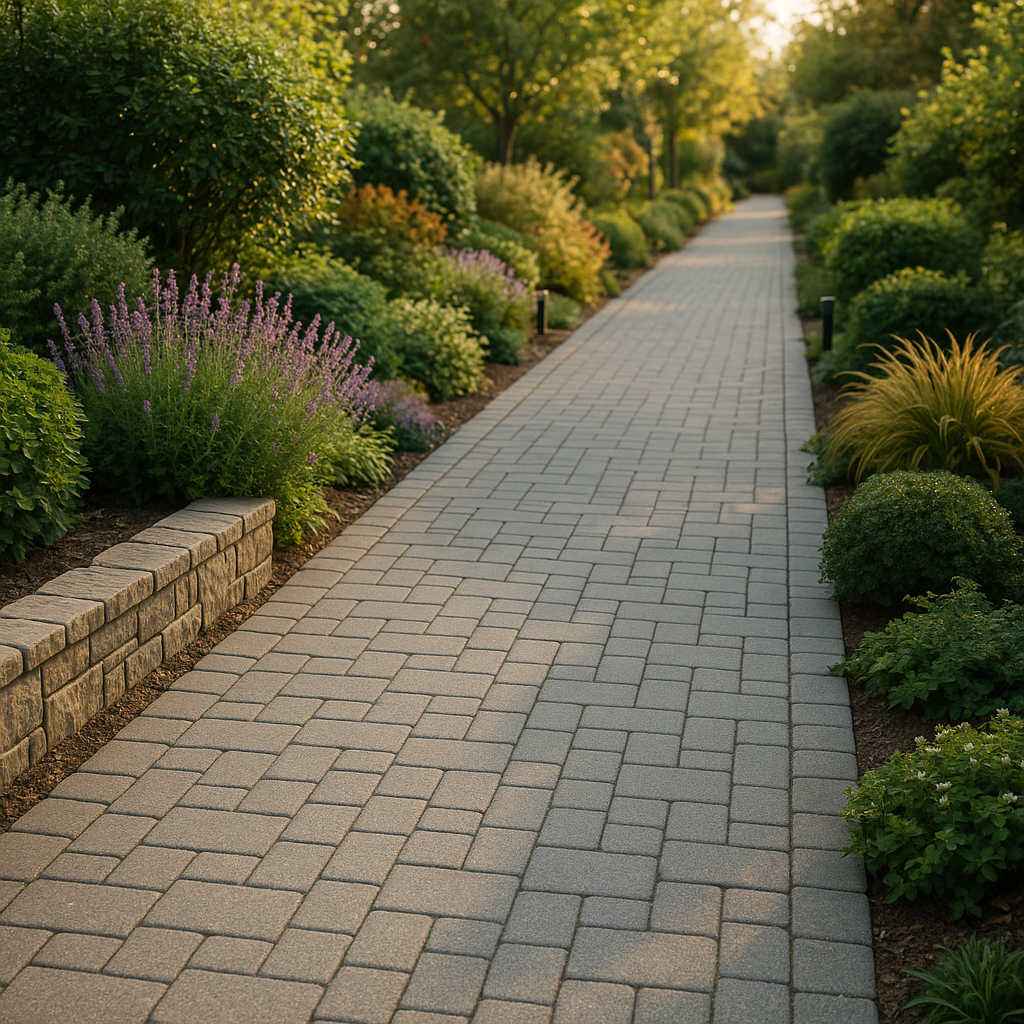
Installing a driveway with interlocking pavers transforms a simple path into a structuring element of the garden: aesthetic, durable, and often more economical than you might think. This guide details the technical choices (slab thickness, base structure, joint types), step-by-step installation, and tips to avoid costly mistakes — drainage, slope adjustments, vehicle traffic constraints, and maintenance. We will also cover patterns, solutions for borders, and coating options for a clean and lasting finish.
In brief
🛠️ Rigid base + compaction: the essential is a well-compacted granular base (20–30 cm depending on use) and a laying layer of 3–4 cm. Without this, the pavers will shift.
🧱 Paver thickness: 6 cm for pedestrian, 8–10 cm for driveways. The herringbone pattern offers the best resistance to lateral loads.
💧 Drainage: maintain a slope of about 1–2% and provide drainage outlets. Poorly managed runoff water causes lifting and sinking.
🧹 Finishes: joints filled with sand (or polymeric sand) + final compaction with a vibrating plate and rubber protection to avoid damaging the surface.
Why choose interlocking pavers?
Interlocking pavers combine aesthetic simplicity and mechanical performance: each block rests on its neighbors, limiting lateral movements when installed correctly. Resistance to freeze/thaw cycles improves if the base is well drained. In use, they simplify localized repairs — a damaged paver can be replaced without destroying the entire driveway — and offer a range of colors and patterns suitable for both contemporary styles and more traditional gardens.
Preparation: calculations, materials and tools
Sizing and excavation
Start by defining the use: pedestrian only, light vehicle, frequent traffic. From there, calculate the total excavation: for a pedestrian path, allow 18–22 cm excluding pavers; for a driveway, 25–35 cm. These figures include the base layer (generally 15–25 cm), the sand leveling layer (3–4 cm), and the paver thickness (6–10 cm). Precision during excavation avoids costly rework.
Recommended materials
- Granular base: 0/31.5 crushed gravel or crushed all-purpose — good bearing capacity and compactability.
- Laying layer: clean, angular sand, 0/4 or 0/2, laid at 3–4 cm thickness.
- Pavers: vibrated concrete, thickness according to use (6/8/10 cm), finish and color according to style.
- Joints: dry sand or polymeric sand for more stable and less permeable joints.
- Borders: concrete curbs, slabs or metal profiles to contain the installation.
Essential tools
- Laser level or straightedge and spirit level
- Shovel, pickaxe, spade
- Mason’s ruler and trowel
- Vibrating plate with rubber protection layer
- Rubber mallet, diamond blade saw if cuts are needed
Step-by-step implementation
1. Mark and excavate
Mark the driveway footprint with stakes and a string. Maintain a drainage slope of about 1 to 2% (1–2 cm per meter) toward a drain, gutter, or permeable lawn. Excavation must be even, with tolerances for the base and sand bedding.
2. Install the base layer
Pour the granular base in layers of 5–10 cm and compact after each addition. For a driveway, the base must be thicker and more compact. Check slope and level with a straightedge. Poor compaction is the main cause of later settling.
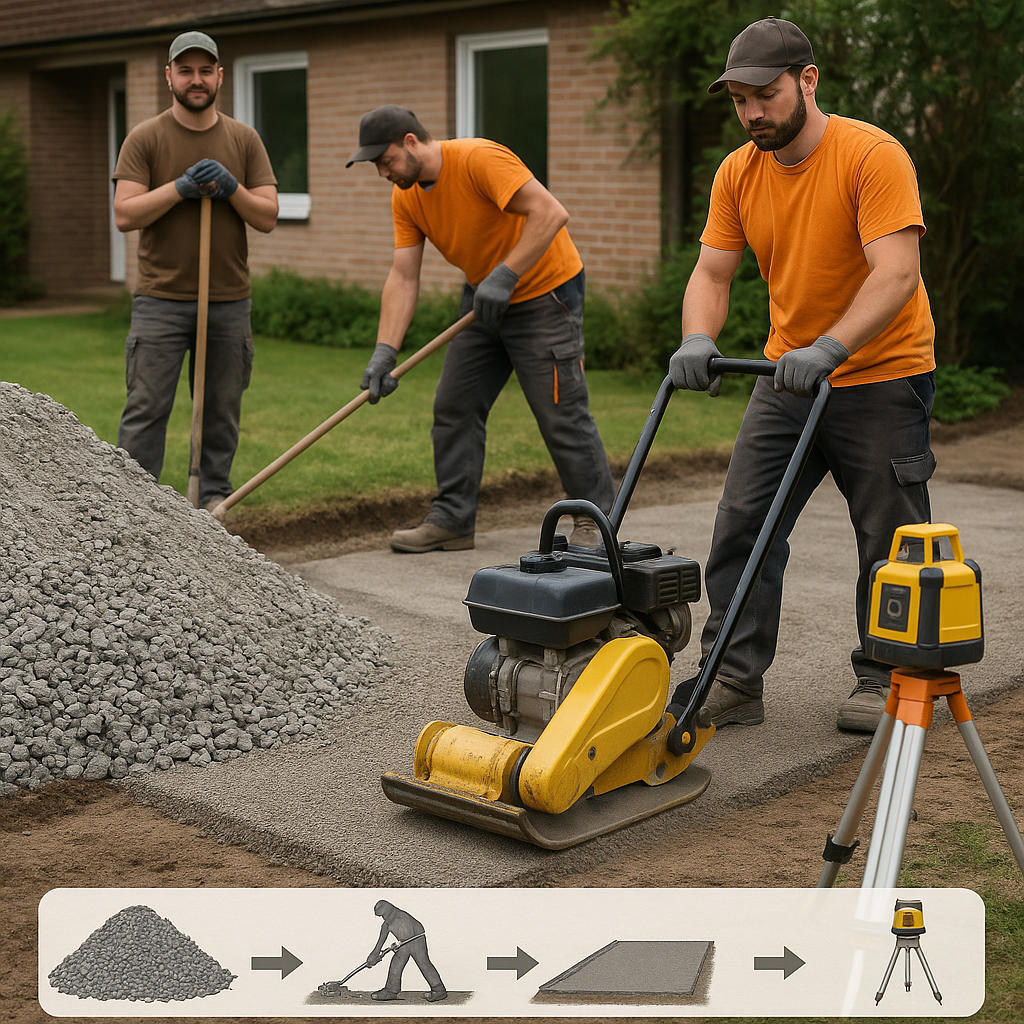
3. Sand leveling layer
The sand bedding layer is a thin layer used to “level” the surface. Spread the sand, level it with a straightedge pulled along rails or battens, then remove the guides. The layer must be even: 3 to 4 cm is standard. Avoid fine beach-type sand which will erode; prefer angular sand.
4. Laying the pavers
Start along a border and lay paver by paver respecting the planned joint (3–5 mm). The most mechanically efficient patterns are herringbone and staggered; they better transfer loads between elements. For cuts, use a diamond blade cutter or hire a professional for complex shapes.
5. Fixing the borders
Borders prevent lateral spreading of the bed. They must be set in a concrete bed or laid on a reinforced concrete footing if the use is drivable. Insufficient borders quickly lead to edge erosion and settling.
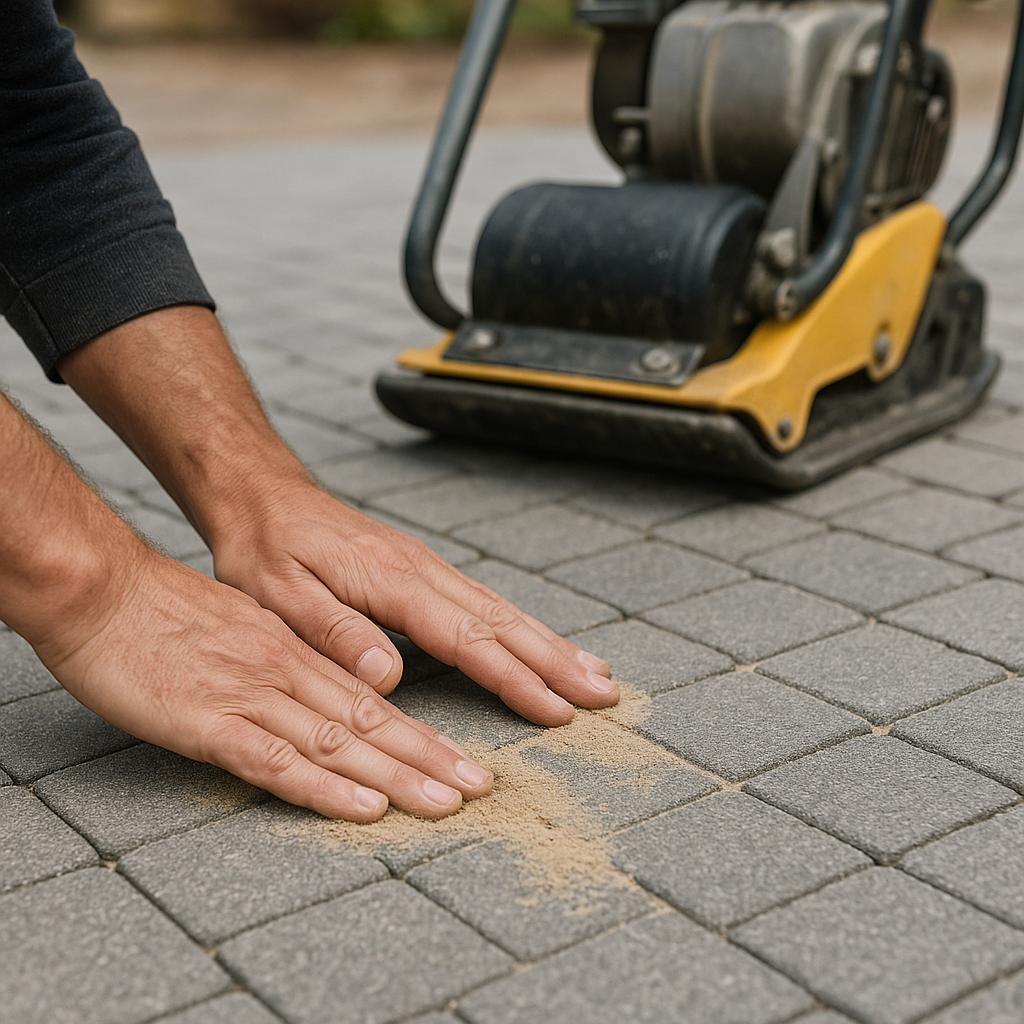
6. Compaction and joints
After completing a section, sweep joints with dry sand or polymeric sand. Then pass the vibrating plate, ideally with a rubber mat to avoid breaking edges, to embed the pavers and push the sand into the joints. Repeat until full stabilization.
Pattern choice and technical impact
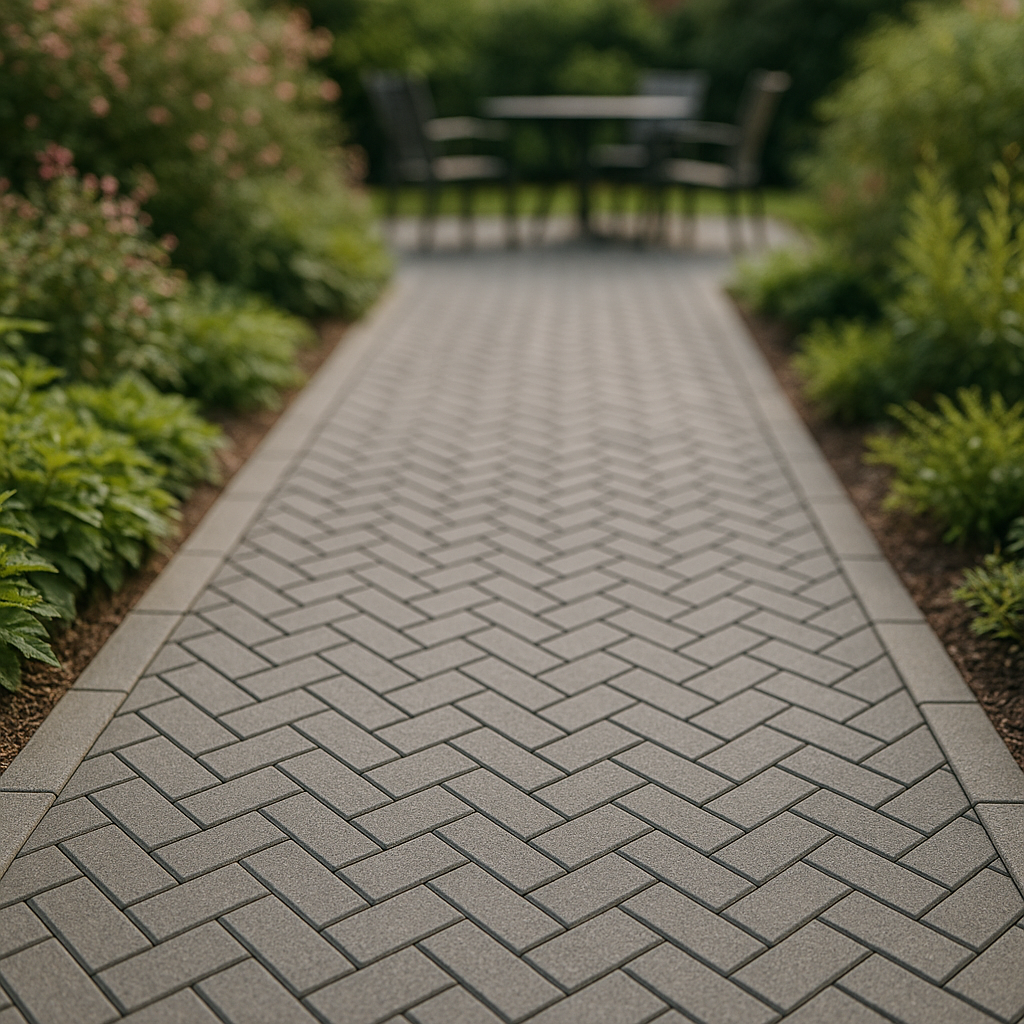
The pattern is not just an aesthetic matter: it directly affects stress distribution. The herringbone (45° or 90°) offers excellent load resistance thanks to paver interlocking. Straight or stretcher bond patterns suit pedestrian areas but require sturdy borders if vehicle traffic is expected. Playing with color and size can guide the eye or visually widen a narrow driveway.
Comparison table: paver thickness by use
| Use | Paver thickness | Granular base | Notes |
|---|---|---|---|
| Pedestrian (terrace, path) | 6 cm | 10–15 cm | Standard laying, simple maintenance |
| Light vehicle (house driveway) | 8 cm | 20–25 cm | Provide solid borders and drainage |
| Heavy traffic / heavy loads | 10–12 cm | 25–35 cm | Professional sizing recommended |
Drainage and slopes: mistakes to avoid
Water-related damage is insidious: pooling, freezing, lifting. Always install a slope toward a drain or infiltration area. If the ground is impermeable, provide gutters or linear drains. Also, using draining materials for the base (draining gravel) improves longevity by avoiding stagnant water under the bedding.
Finishes and maintenance
Simple actions extend the life of a driveway: regular sweeping of joints, mechanical weed removal, occasional replacement of damaged pavers. Polymeric sand reduces weed growth and sand dispersion during heavy rain but requires careful application (no moisture during laying). A water-repellent treatment or sealing is not necessary but can protect colors and limit stains.
Indicative costs and schedule
Costs vary widely depending on product, access difficulty, and local labor. As a guideline: pavers supply from 30 to 120 €/m² depending on range, granular base 10–25 €/m², labor 40–80 €/m² for standard laying. Allow 3–7 days for a medium-sized driveway depending on preparation and weather.
Pro tip: how to spot a future problem
After the first seasons, inspect edges and runoff points. Any crack in the border or local settling often indicates a poorly compacted base or drainage defect. Early treatment avoids widespread repairs.
FAQ
What thickness for a driveway?
For a light vehicle, choose pavers of 8 cm on a granular base of 20–25 cm. Increase accordingly for heavier loads.Can I lay the pavers myself?
Yes, if you master leveling and compaction. Critical points: the base, slope, and border. For large surfaces or technical constraints, hire a professional.Should pavers be sealed?
Sealing is optional: it protects and fixes joints but can make later repairs more complex.How to prevent weeds?
Polymeric sand for joints and regular sweeping limit growth. A geotextile under the base can help but does not replace a well-sized base.
Quick checklist before starting
- Mark the footprint and check slopes/camber
- Calculate excavation depth according to use
- Prepare the granular base and compact in layers
- Install solid borders
- Respect the sand bedding thickness (3–4 cm)
- Use a protected vibrating plate for final compaction
Additional resources
To refine sizing, consult manufacturers’ technical sheets indicating strength and tolerances. If in doubt about soil bearing capacity or water management, a basic geotechnical study avoids heavy rework.
{
“@context”: “https://schema.org”,
“@type”: “FAQPage”,
“mainEntity”: [
{
“@type”: “Question”,
“name”: “What thickness for a driveway?”,
“acceptedAnswer”: {
“@type”: “Answer”,
“text”: “For a light vehicle, choose pavers of 8 cm on a granular base of 20–25 cm. Increase accordingly for heavier loads.”
}
},
{
“@type”: “Question”,
“name”: “Can I lay the pavers myself?”,
“acceptedAnswer”: {
“@type”: “Answer”,
“text”: “Yes, if you master leveling and compaction. Critical points are the base, slope, and border. For large surfaces or technical constraints, hire a professional.”
}
},
{
“@type”: “Question”,
“name”: “Should pavers be sealed?”,
“acceptedAnswer”: {
“@type”: “Answer”,
“text”: “Sealing is optional: it protects and fixes joints but can make later repairs more complex.”
}
}
]
}
{
“@context”: “https://schema.org”,
“@type”: “WebPage”,
“about”: {
“@type”: “Thing”,
“name”: “interlocking paver driveway”
},
“keywords”: [“interlocking pavers”, “installation”, “granular base”, “drainage”, “polymeric sand”]
}