
Sommaire
Building your own composter is not just an eco-friendly act: it’s a concrete way to close the organic matter cycle at home and get free soil amendment for the garden. Here I guide you step by step, with alternatives depending on space and available time, so your first compost bin works quickly and well. We will cover materials, location, detailed construction, maintenance, and common problems — with practical tips to avoid repeated mistakes.
In Brief
🌱 Simple materials: boards, screws, a drill, and some wire mesh are enough. Expect 2 to 4 hours depending on your experience for a basic bin.
⚠️ Good balance: alternate **green materials** (peelings, grass clippings) and **brown materials** (cardboard, leaves) for fast and odorless decomposition.
📍 Location: place the composter on the ground, in partial shade, accessible year-round. Aeration and controlled moisture make all the difference.
📡 Minimal maintenance: aerate every 1–2 weeks, keep the pile moist like a wrung-out sponge, and harvest usable compost in 3–9 months depending on the method.
Why Make a Homemade Composter?
Beyond saving on soil bags, making your own composter allows you to control the size, ventilation, and access according to your constraints. One might think only seasoned gardeners do it; in reality, a well-designed composter reduces nuisances (flies, odors) while speeding up decomposition. Plus, it’s an accessible DIY project: you learn to judge a good mix and diagnose a tricky pile.
Materials and Tools
For a standard bin 80–120 cm per side, here’s what works well. Dimensions vary, adapt according to space:
- Untreated wood (boards or pallets): durable and breathable.
- Stainless steel or galvanized screws, hinges if you want a lid.
- Drill/screwdriver, saw, tape measure — classic DIY tools.
- Wire mesh (wide mesh) for the bottom if the soil is compacted.
- Optional: natural oil paint, handle for the lid, water collector.
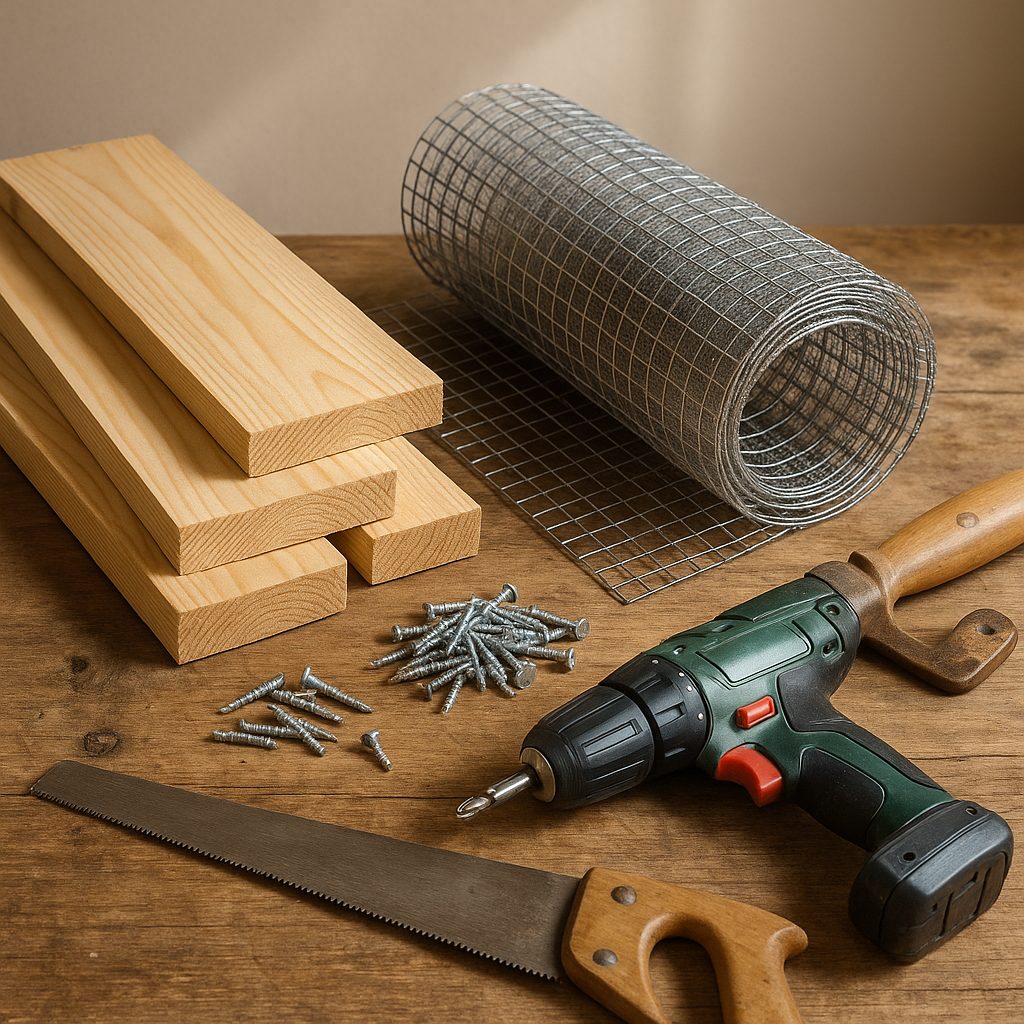
If you prefer an ultra-economical solution, assembled pallets or a perforated barrel also work very well. Wood provides insulation and regulates moisture; avoid airtight plastic if you want aerated and faster composting.
Choosing the Location
The ideal site is accessible, close to the kitchen but not right next to a frequently used window, and slightly shaded: too much sun dries out, too much humidity promotes bad odors. The soil must allow microorganisms and worms to access it — a bin placed directly on the ground is always preferable to a bin on a slab.
Practical Criteria
- Ease of access for depositing waste and retrieving compost.
- Natural drainage: avoid flooded areas.
- Proximity to a water point for moistening in summer.
Step-by-Step Construction
Here I propose a simple method for a triple bin (convenient for switching between young and mature piles). The steps are straightforward but require some precision to ensure stability and aeration.
Step 1 — Prepare the Boards
Cut 6 boards to form three sides (the fourth can remain open to tip the pile): two sides of 80 cm and a back of 120 cm, for example. Plan for vertical spacers (4×4 cm) at each corner to hold the assembly together.
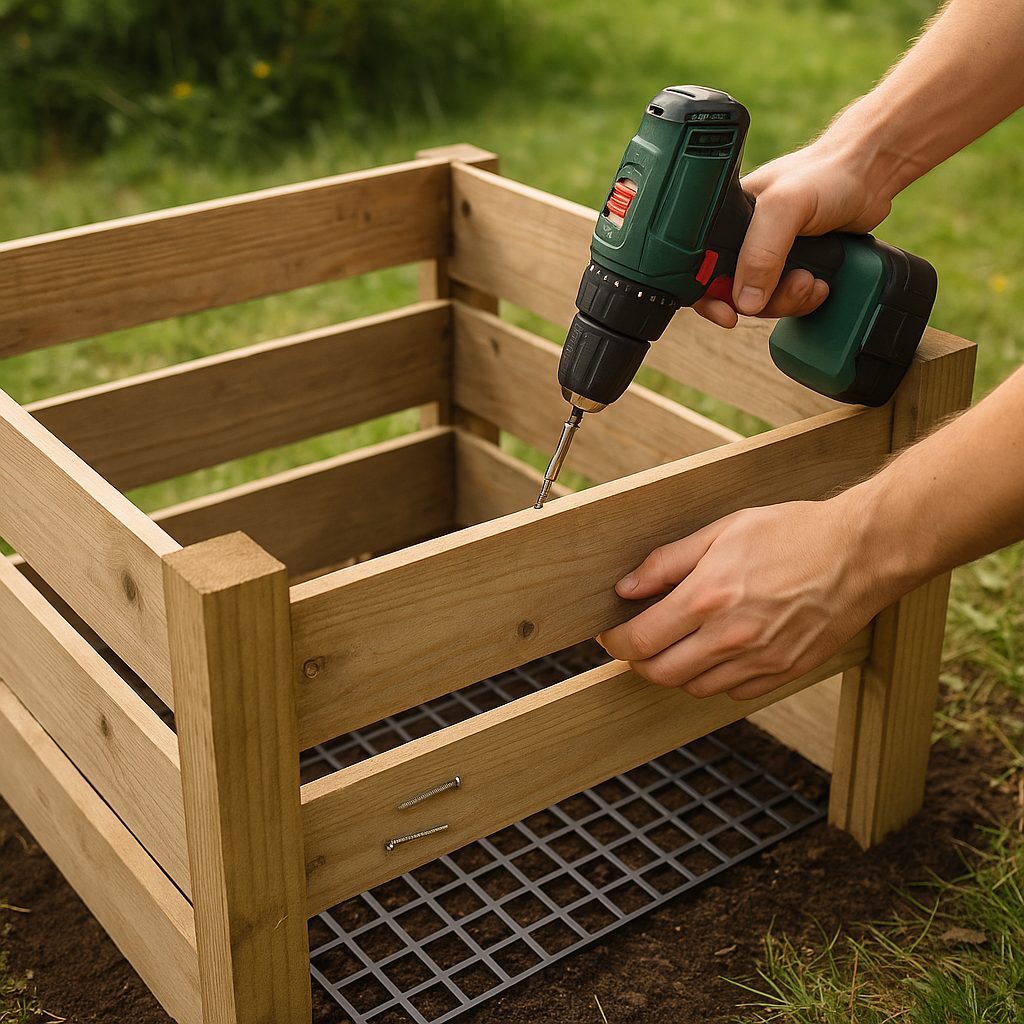
Step 2 — Drill, Assemble, Ventilate
Drill regular holes or space the slats to promote aeration. Screw the boards onto the corner posts leaving a slight gap for expansion. Attach wire mesh at the bottom if the soil is very loose: this prevents rodents while allowing worms to pass through.
Step 3 — Lid and Finishing
A lid is not mandatory but helps regulate humidity and limits animal access. Use a hinge to facilitate opening or a removable lid. Treat the wood with a natural oil if you want to extend its lifespan without polluting the compost.
How to Start the Pile
The most common mistake is to add all the wet waste at once without structure. The idea is to create layers: first a base of branches or shredded material for drainage, then alternate brown materials and green materials.
- Base: 15–20 cm of branches, straw, or shredded material.
- Green layer: peelings, kitchen residues, grass clippings (2–10 cm depending on the input).
- Brown layer: dead leaves, torn cardboard, straw (2–10 cm).
- Finish with a thin layer of soil or mature compost to inoculate microorganisms.
Maintenance and Best Practices
Consistency is key: aerate, control humidity, and maintain the C/N balance. If the pile smells bad, it lacks air or is too wet; add brown materials and aerate immediately. If it is dry and slow, water moderately and compact less.
Frequency
- Turn the pile: every 1–2 weeks for fast composting, every 4–6 weeks for basic maintenance.
- Humidity: similar to a wrung-out sponge. Check with your hand.
- Temperature: an active pile heats up (40–60°C). If you see no temperature increase, it can sometimes indicate a lack of nitrogen or aeration.
Tip: to speed up startup, sift some mature compost into your layers. The microorganisms will do the job faster.
What to put — and what to ban
| To put | To avoid |
|---|---|
| Peelings, coffee grounds, grass clippings | Meat, fish, dairy products (attract pests) |
| Dead leaves, unprinted cardboard, sawdust | Confirmed plant diseases, weeds gone to seed |
| Untreated wood chips, straw | Treated wood, coal ashes |
Variants and developments
Depending on your space and time, adapt: a drum composter (tumbler) makes turning easier; a three-bin system allows managing maturation cycles; vermicomposting (red worms) is perfect for apartments, with a closed bin and fine control of humidity.
Quick comparison table
| Type | Advantage | Disadvantage |
|---|---|---|
| Simple wooden bin | Inexpensive, modular | Less insulating in winter |
| Tumbler | Quick to turn | Limited capacity |
| Vermicomposter | Ideal for kitchen | Requires monitoring |
Common problems and solutions
A composter that smells bad, attracts flies, or does not heat up has distinct causes. Odor: too wet or too much protein material; add cardboard and aerate. High fly rate: cover fresh waste with a layer of dry material. No heating: add more nitrogen (green waste) and aerate.
Harvesting and using the compost
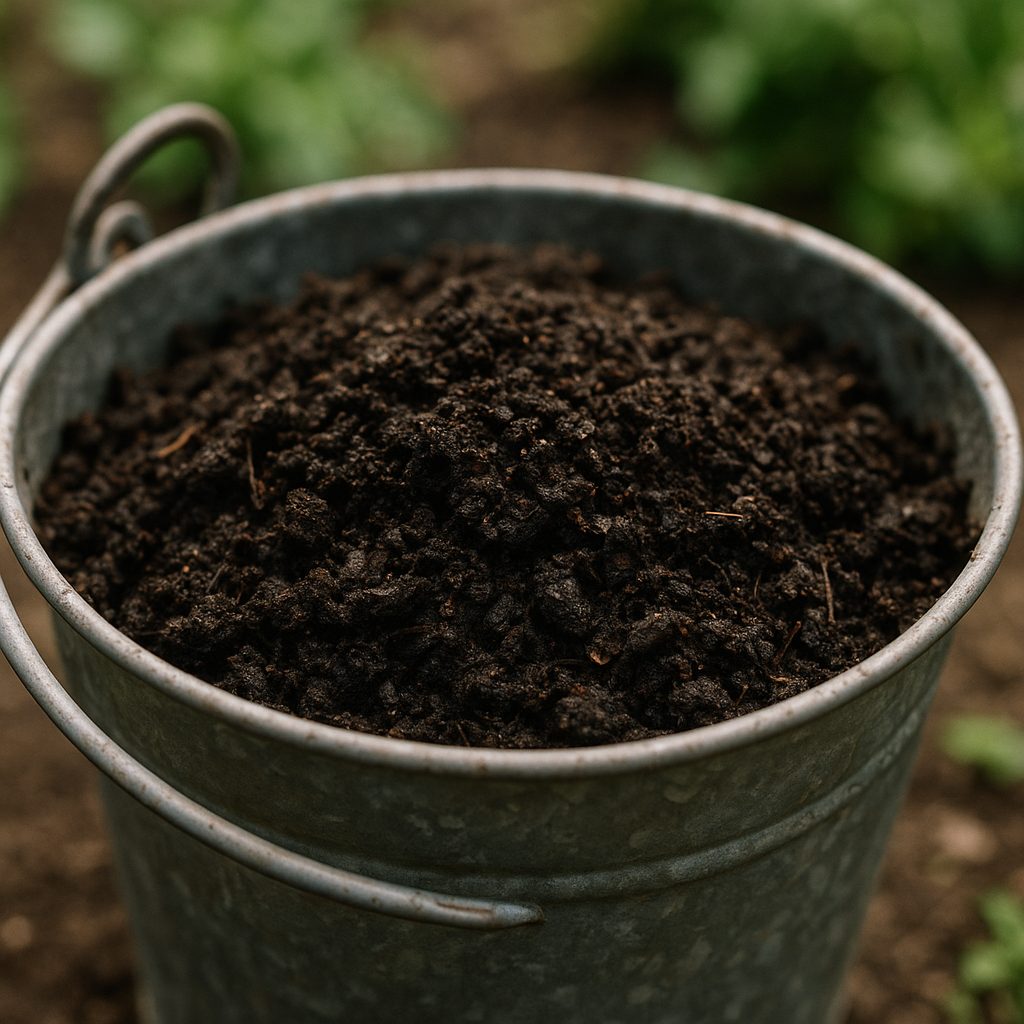
Compost is ready when it is dark, crumbly, and smells like earth. Sift it to separate undecomposed elements and use it as surface soil, repotting mix, or amendment before planting. In open ground, mix 2 to 4 cm on the surface or lightly incorporate.
FAQ
How long to get usable compost?
Depending on the size of the pile and the frequency of turning, count between 3 and 9 months. An activated and regularly aerated pile will arrive faster; a static pile will take longer but give the same result.
Can I compost in winter?
Yes. The process slows down, but a large pile retains its heat. To speed up, insulate the bin or increase the mass with brown materials to retain heat.
What to do with weeds?
Avoid adding plants gone to seed unless you have a very hot and monitored pile. Young shoots decompose well if mixed with charcoal or shredded material.
Can wood ashes be composted?
Yes, in small quantities. Ashes raise pH and provide potassium; do not add too much and avoid if your soil is already alkaline.
My composter attracts rodents, what to do?
Check that there are no meat scraps or fatty products. Close ground openings with fine mesh and make sure the lid is well secured. A well-balanced composter generally does not attract rodents.
{
“@context”: “https://schema.org”,
“@type”: “FAQPage”,
“mainEntity”: [
{
“@type”: “Question”,
“name”: “How long does it take to get usable compost?”,
“acceptedAnswer”: {
“@type”: “Answer”,
“text”: “Depending on the size of the pile and the frequency of turning, expect between 3 and 9 months. An activated and regularly aerated pile will arrive faster.”
}
},
{
“@type”: “Question”,
“name”: “Can I compost in winter?”,
“acceptedAnswer”: {
“@type”: “Answer”,
“text”: “Yes. The process slows down, but a large pile retains its heat. Insulating the bin or increasing the brown mass helps maintain microbiological activity.”
}
},
{
“@type”: “Question”,
“name”: “My composter attracts rodents, what should I do?”,
“acceptedAnswer”: {
“@type”: “Answer”,
“text”: “Check for the absence of meat scraps and use wire mesh to close openings. A good balance of green/brown materials limits nuisances.”
}
}
]
}
{
“@context”: “https://schema.org”,
“@type”: “WebPage”,
“about”: {
“@type”: “Thing”,
“name”: “making a homemade composter”
},
“keywords”: [“homemade composter”, “compost bin”, “composting”, “brown materials”, “green materials”]
}