
The most reliable solution involves three steps: waiting for the ground to dry, laying a temporary track between the unloading point and the wall, then splitting the loads at each passage. It is this combination that prevents ruts, soil compaction, and bare patches that often appear one to three weeks after the worksite. On wet grass, the problem is not just visual: traffic closes the soil pores, degrades drainage, and deprives roots of air.
Summary
Quick verdict on the method
Verdict: to move stones to a retaining wall without ruining the lawn, the best approach remains a temporary driveway made of track plates or rigid panels, combined with traffic always on the same strip. For a small job, a wheelbarrow with modest loads is sufficient. As soon as the volume increases, the ground is clayey, or the stones are massive, you need to step up with more serious protections, or even a motorized tracked wheelbarrow or a mini-dumper. Practical note: 9/10. Recommended for residential gardens, narrow side accesses, and jobs where the condition of the turf matters as much as the speed of execution.
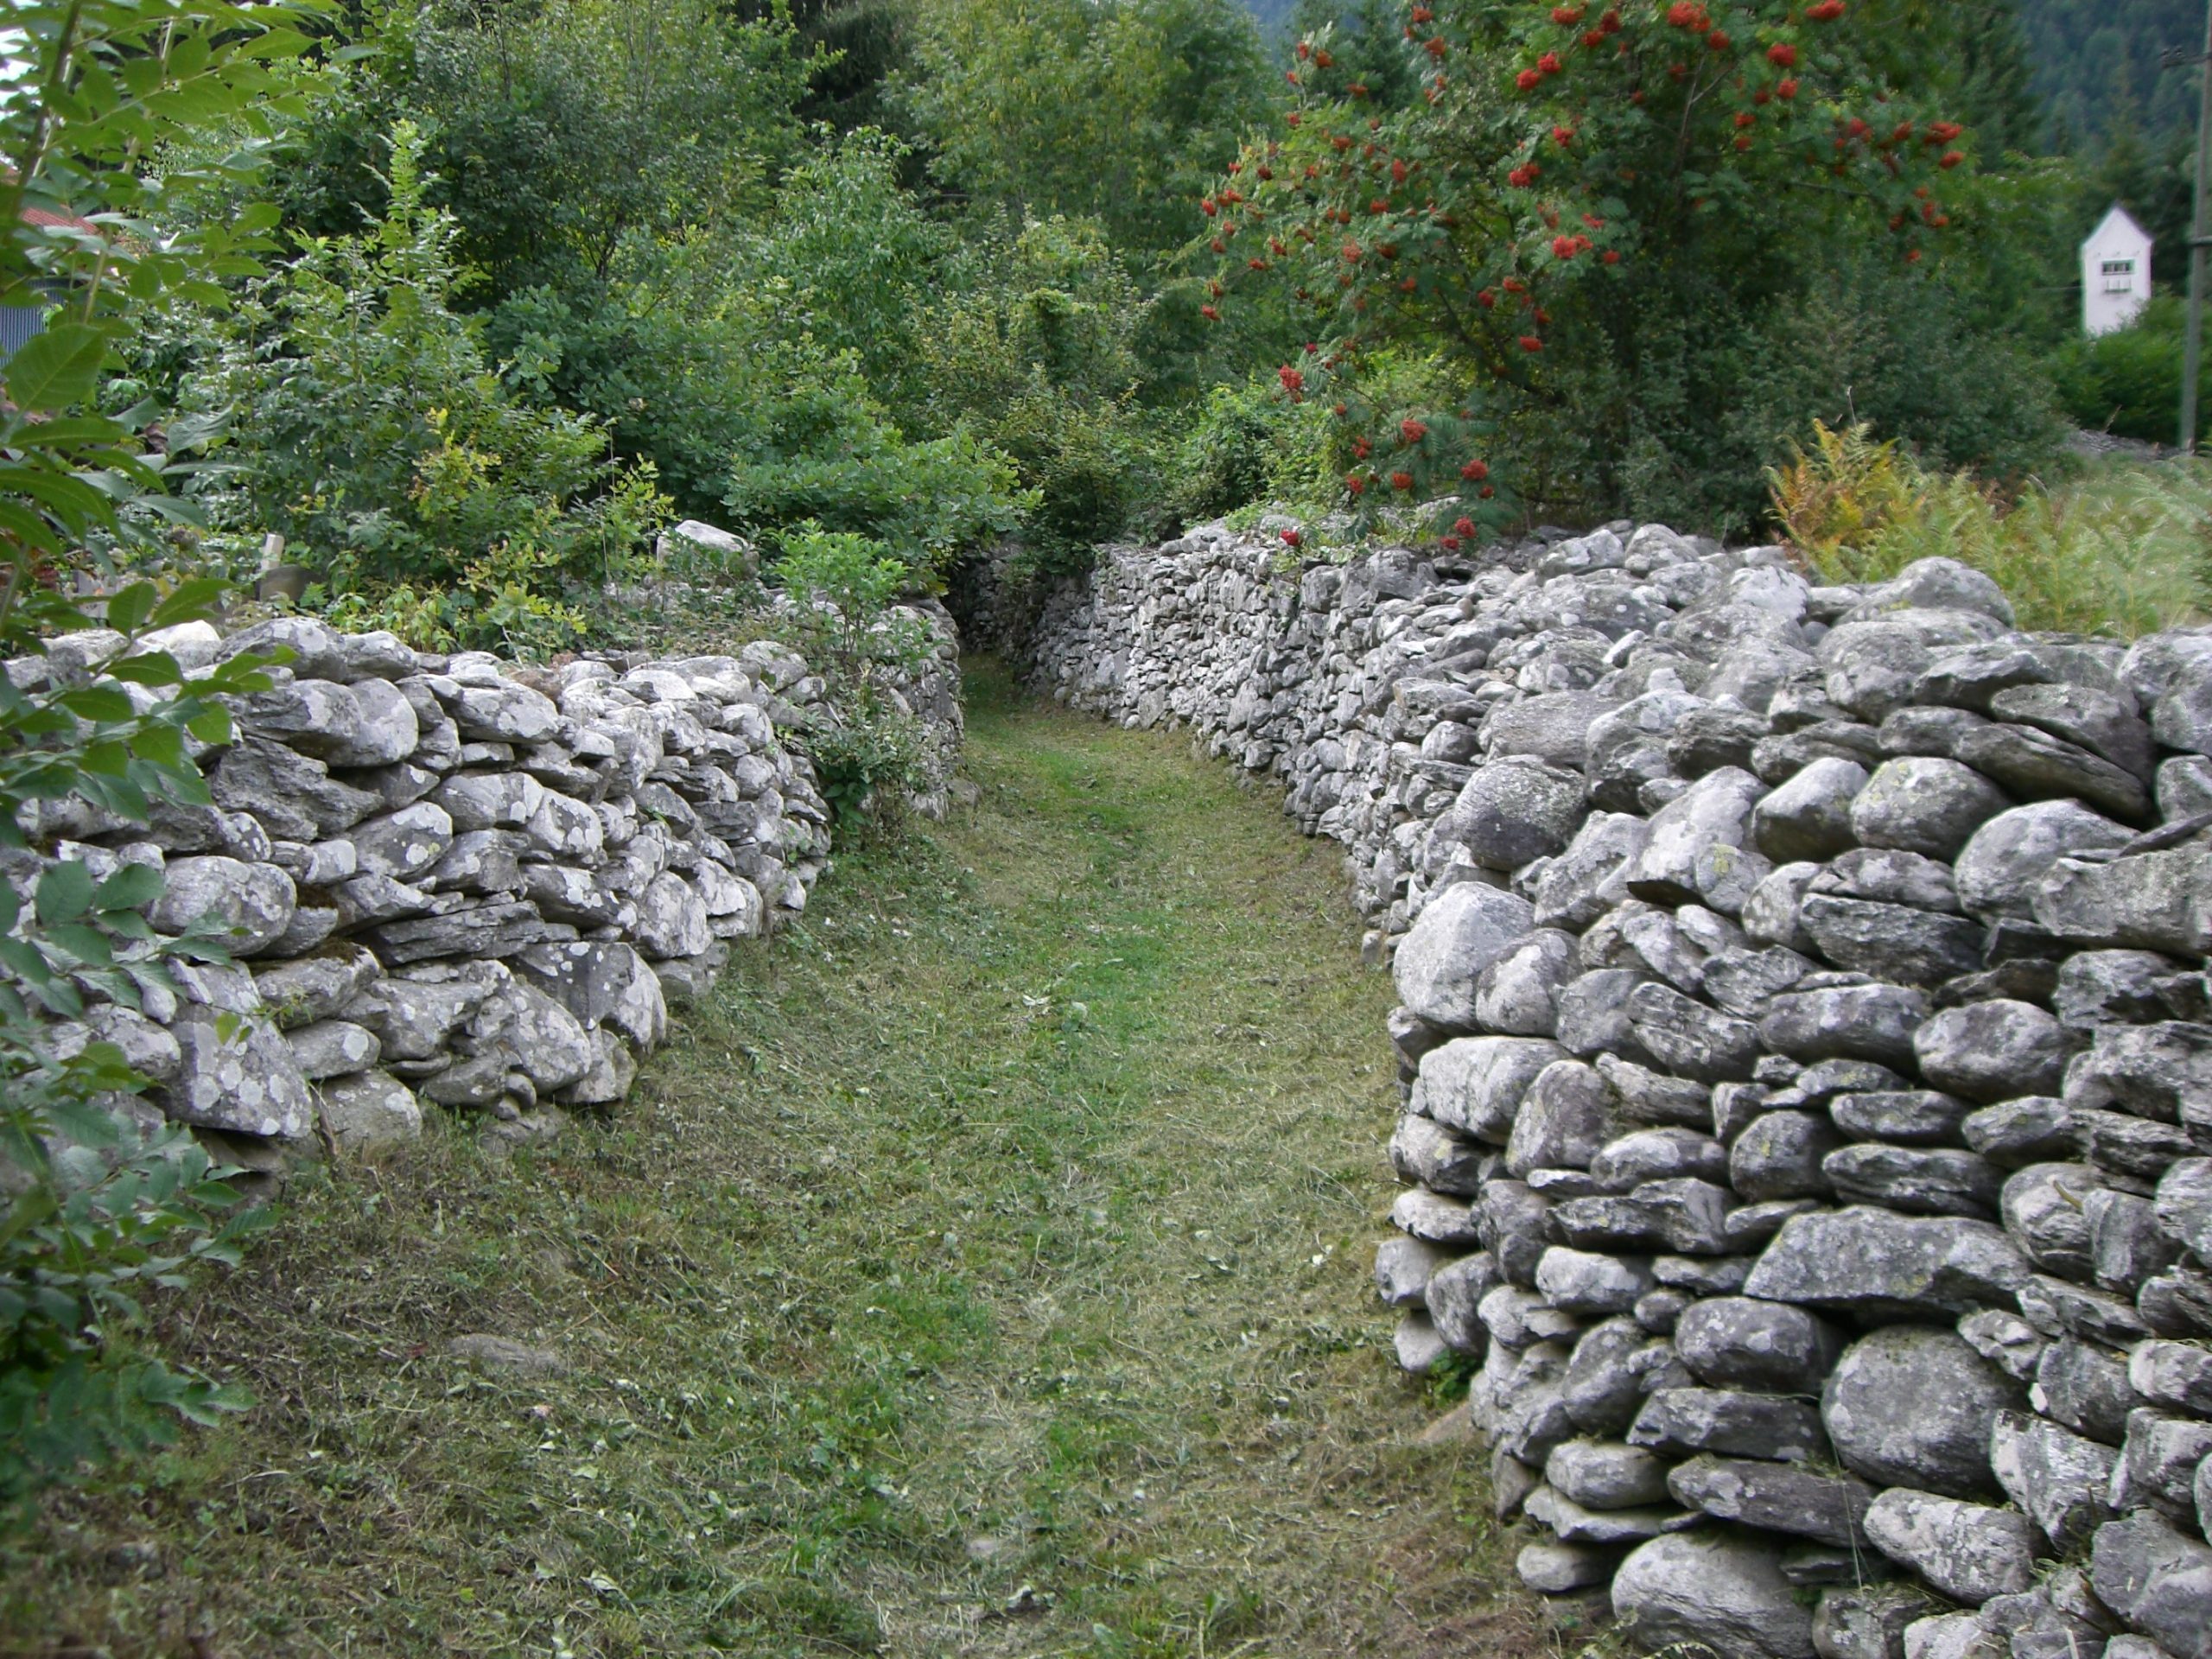
Why the lawn gets marked
Compaction happens very quickly
A lawn tolerates normal use well, much less so a construction site back-and-forth. The sensitive point is not just the total weight of the stones: it is the repetition of passages in the same place, especially when the soil is wet. Wheels, repeated footsteps, and machinery compact the soil; waterlogged ground compacts even more easily. When air circulates less between particles, roots breathe poorly and the grass recovery slows down significantly.
Turns cause more damage
Many lawns are not ruined in the middle of the path, but where the wheelbarrow turns, brakes, or starts again. Lateral forces shear the surface and create these dark marks that end up as bare strips. A short, stable, straight line repeated damages less than an improvised route with U-turns on the grass.
The lawn guides from RHS and the University of Maryland converge on the same point: grass poorly tolerates traffic when the soil is very wet, and repeated wheels quickly worsen compaction. This is not a “cosmetic” damage; drainage decreases and roots recover more slowly.
Source: RHS; University of Maryland Extension
The temporary track, a real tip
What really works
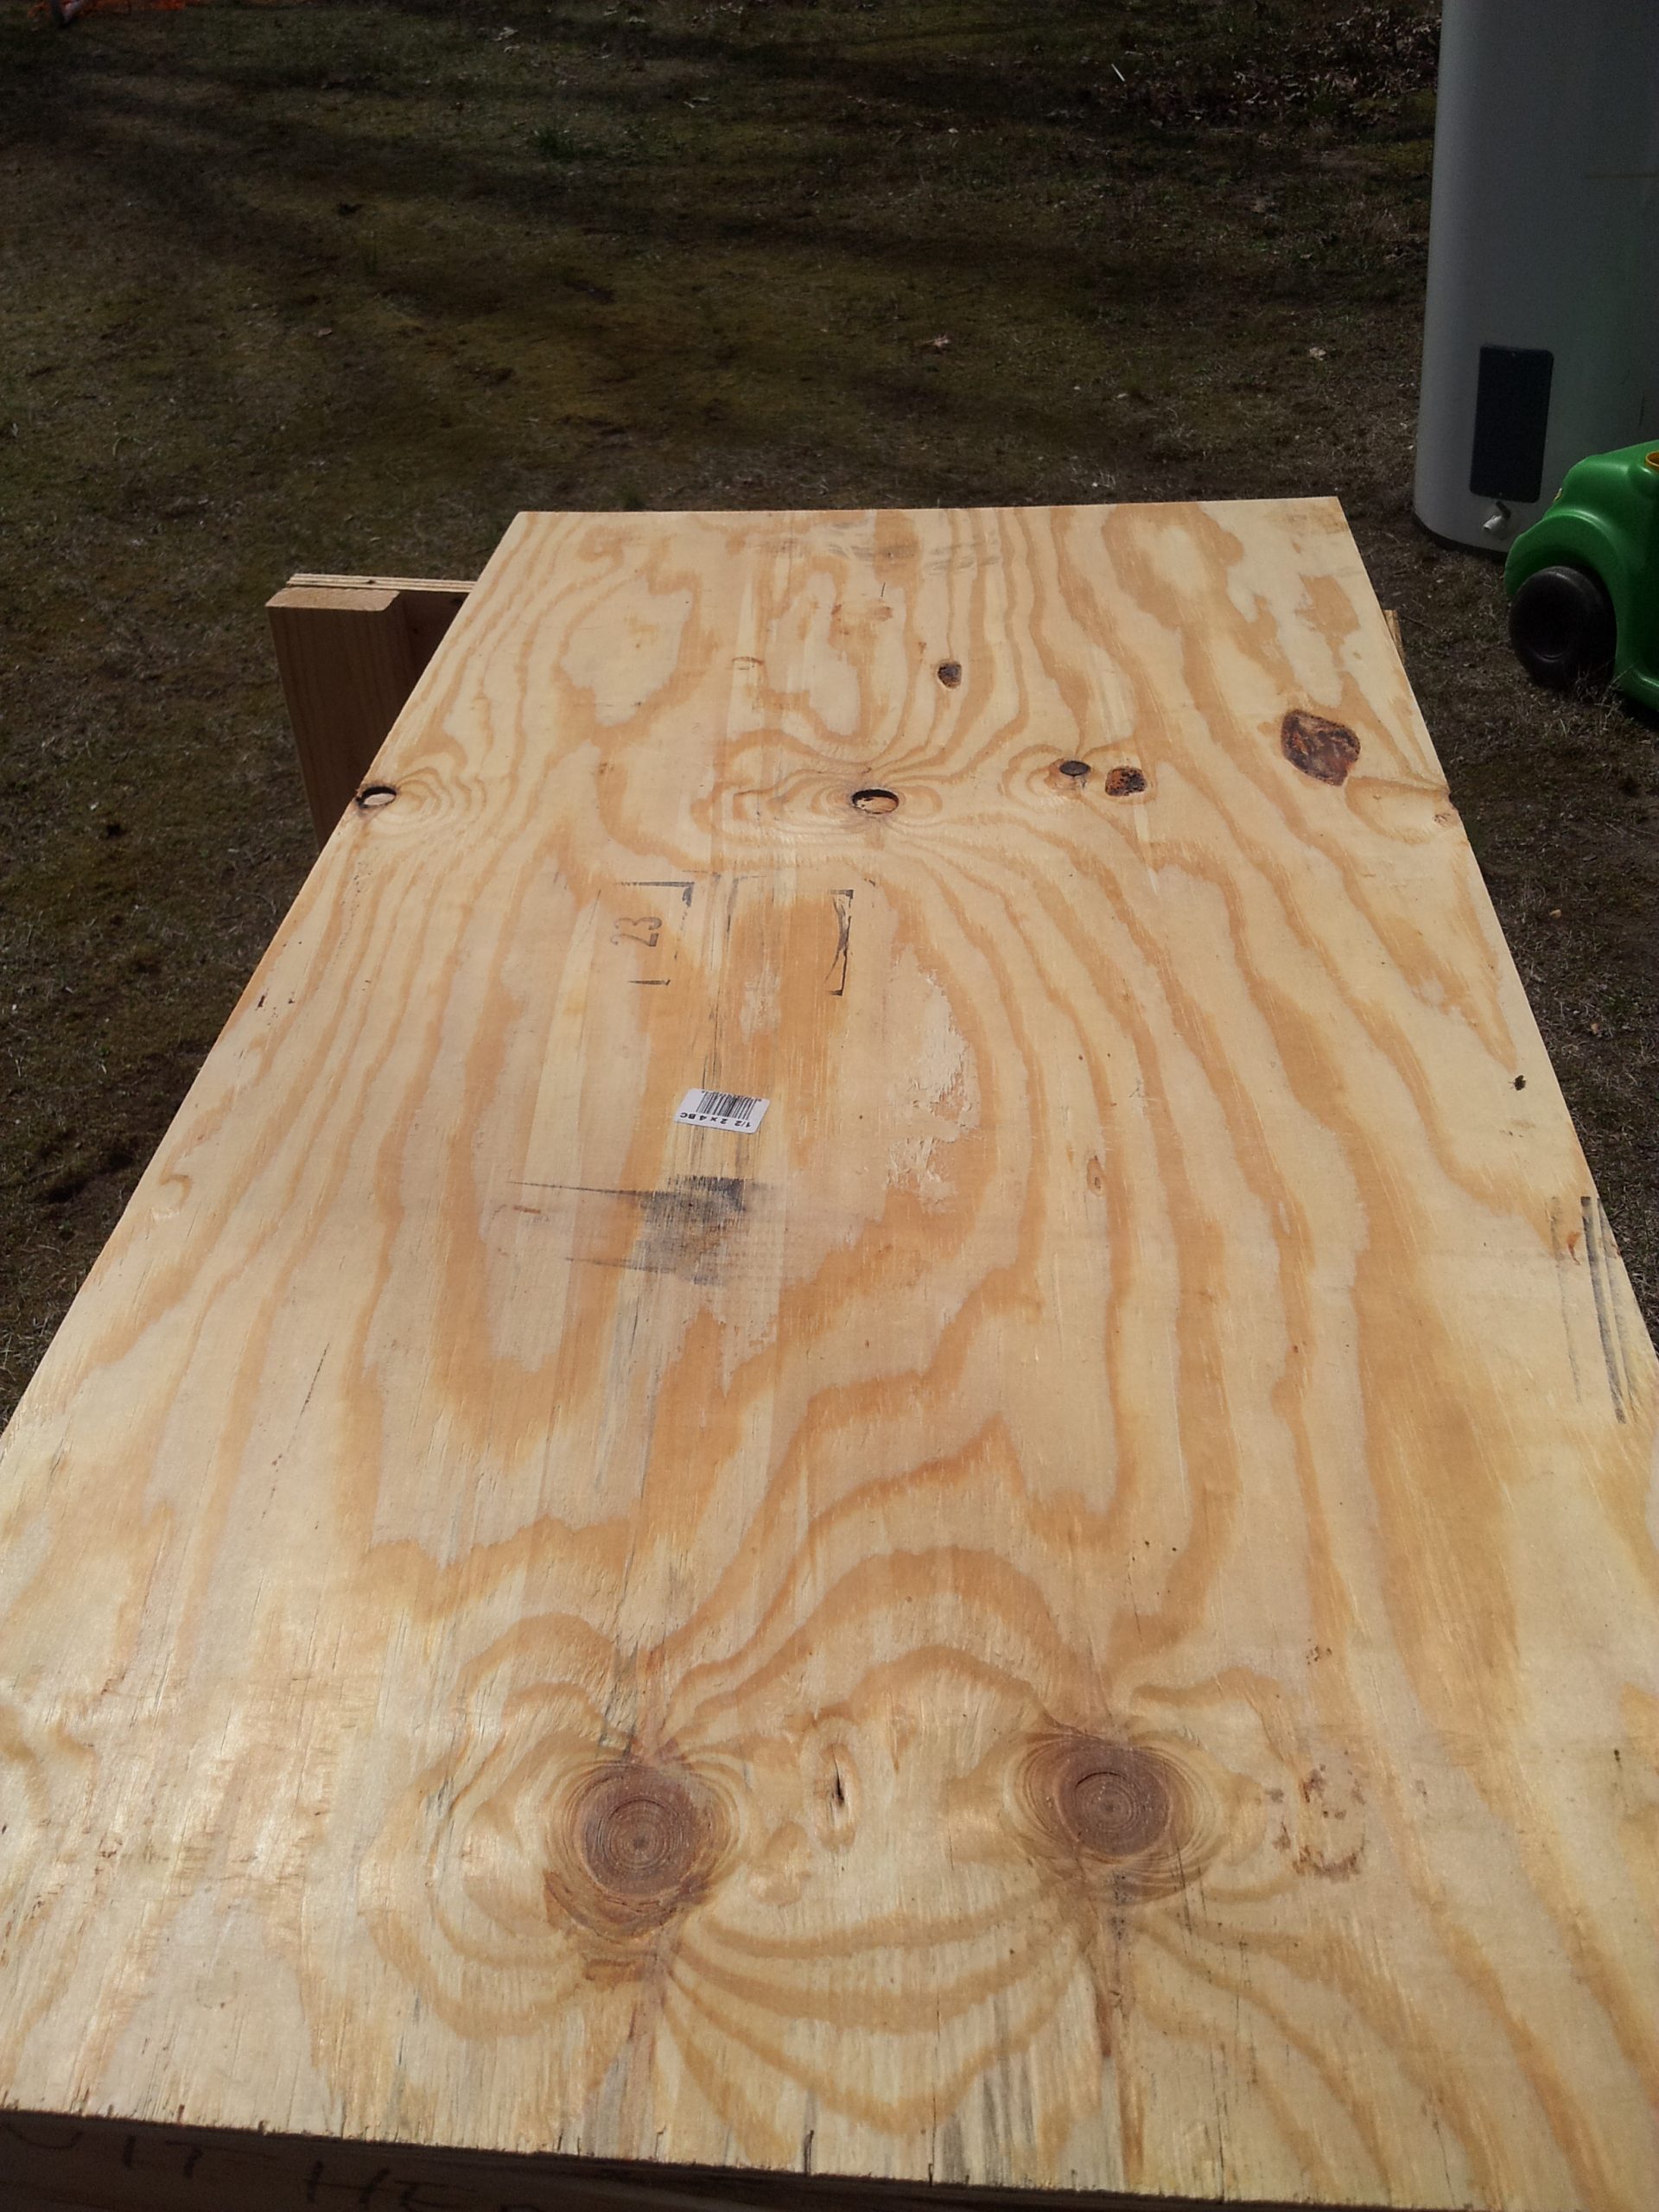
The most cost-effective tip is to create a temporary track between the deposit area and the wall: rolling plates, protective slabs, or, failing that, rigid panels well laid and tightly joined. Limiting traffic and laying plywood sheets when passage is unavoidable already gives good results. However, plywood alone does not protect as well as a thicker and better locked device if there are many passages or if the loads become heavy. Practical translation: for a few light passages, the panels help; for intensive back-and-forth or a machine, a real site protection is better.
How to lay it smartly
The good track starts as close as possible to the unloading, follows the shortest line, avoids unnecessary curves, and goes to the laying area. The panels must overlap slightly or touch firmly so that the wheel does not sink between two elements. Keep the same width from start to finish. A level break, a raised corner, or a floating support quickly turns the wheelbarrow into a lever and shifts the load onto one edge of the wheel.
- Advantage #1: the load is better distributed over the surface.
- Advantage #2: ruts concentrate on the protection, not on the grass.
- Advantage #3: the route becomes faster and safer.
- Advantage #4: you control a single traffic lane instead of a diffuse site.
- Limit #1: on waterlogged ground, the site must be postponed.
- Limit #2: bare plywood is not a miracle solution for heavy traffic.
- Limit #3: on-the-spot U-turns remain destructive, even on a track.
- Limit #4: a panel that is too thin or poorly supported bends and concentrates the load.
When passage over a grassy area cannot be avoided, traffic is reduced and a temporary path is created with boards or plywood to limit compaction. For repeated loads, the protection must be upgraded.
Source: UNH Extension, 2020
What equipment depending on the volume
Small site: lightness above all
For a few dozen stones, the classic wheelbarrow remains relevant, but with one condition: load light. As soon as you strain to lift the box, you lose on all fronts. Handling becomes dangerous, the wheels leave deeper marks, and turns tear up the grass. The handling guidelines often cited in manuals remind us that a “comfortable” carry quickly falls apart as soon as you lift from the ground, twist your torso, or repeat the motion. An irregular stone grabbed close to the ground is therefore a bad candidate for “I’ll carry it like this.”
Medium to large volume: stabilize the flow
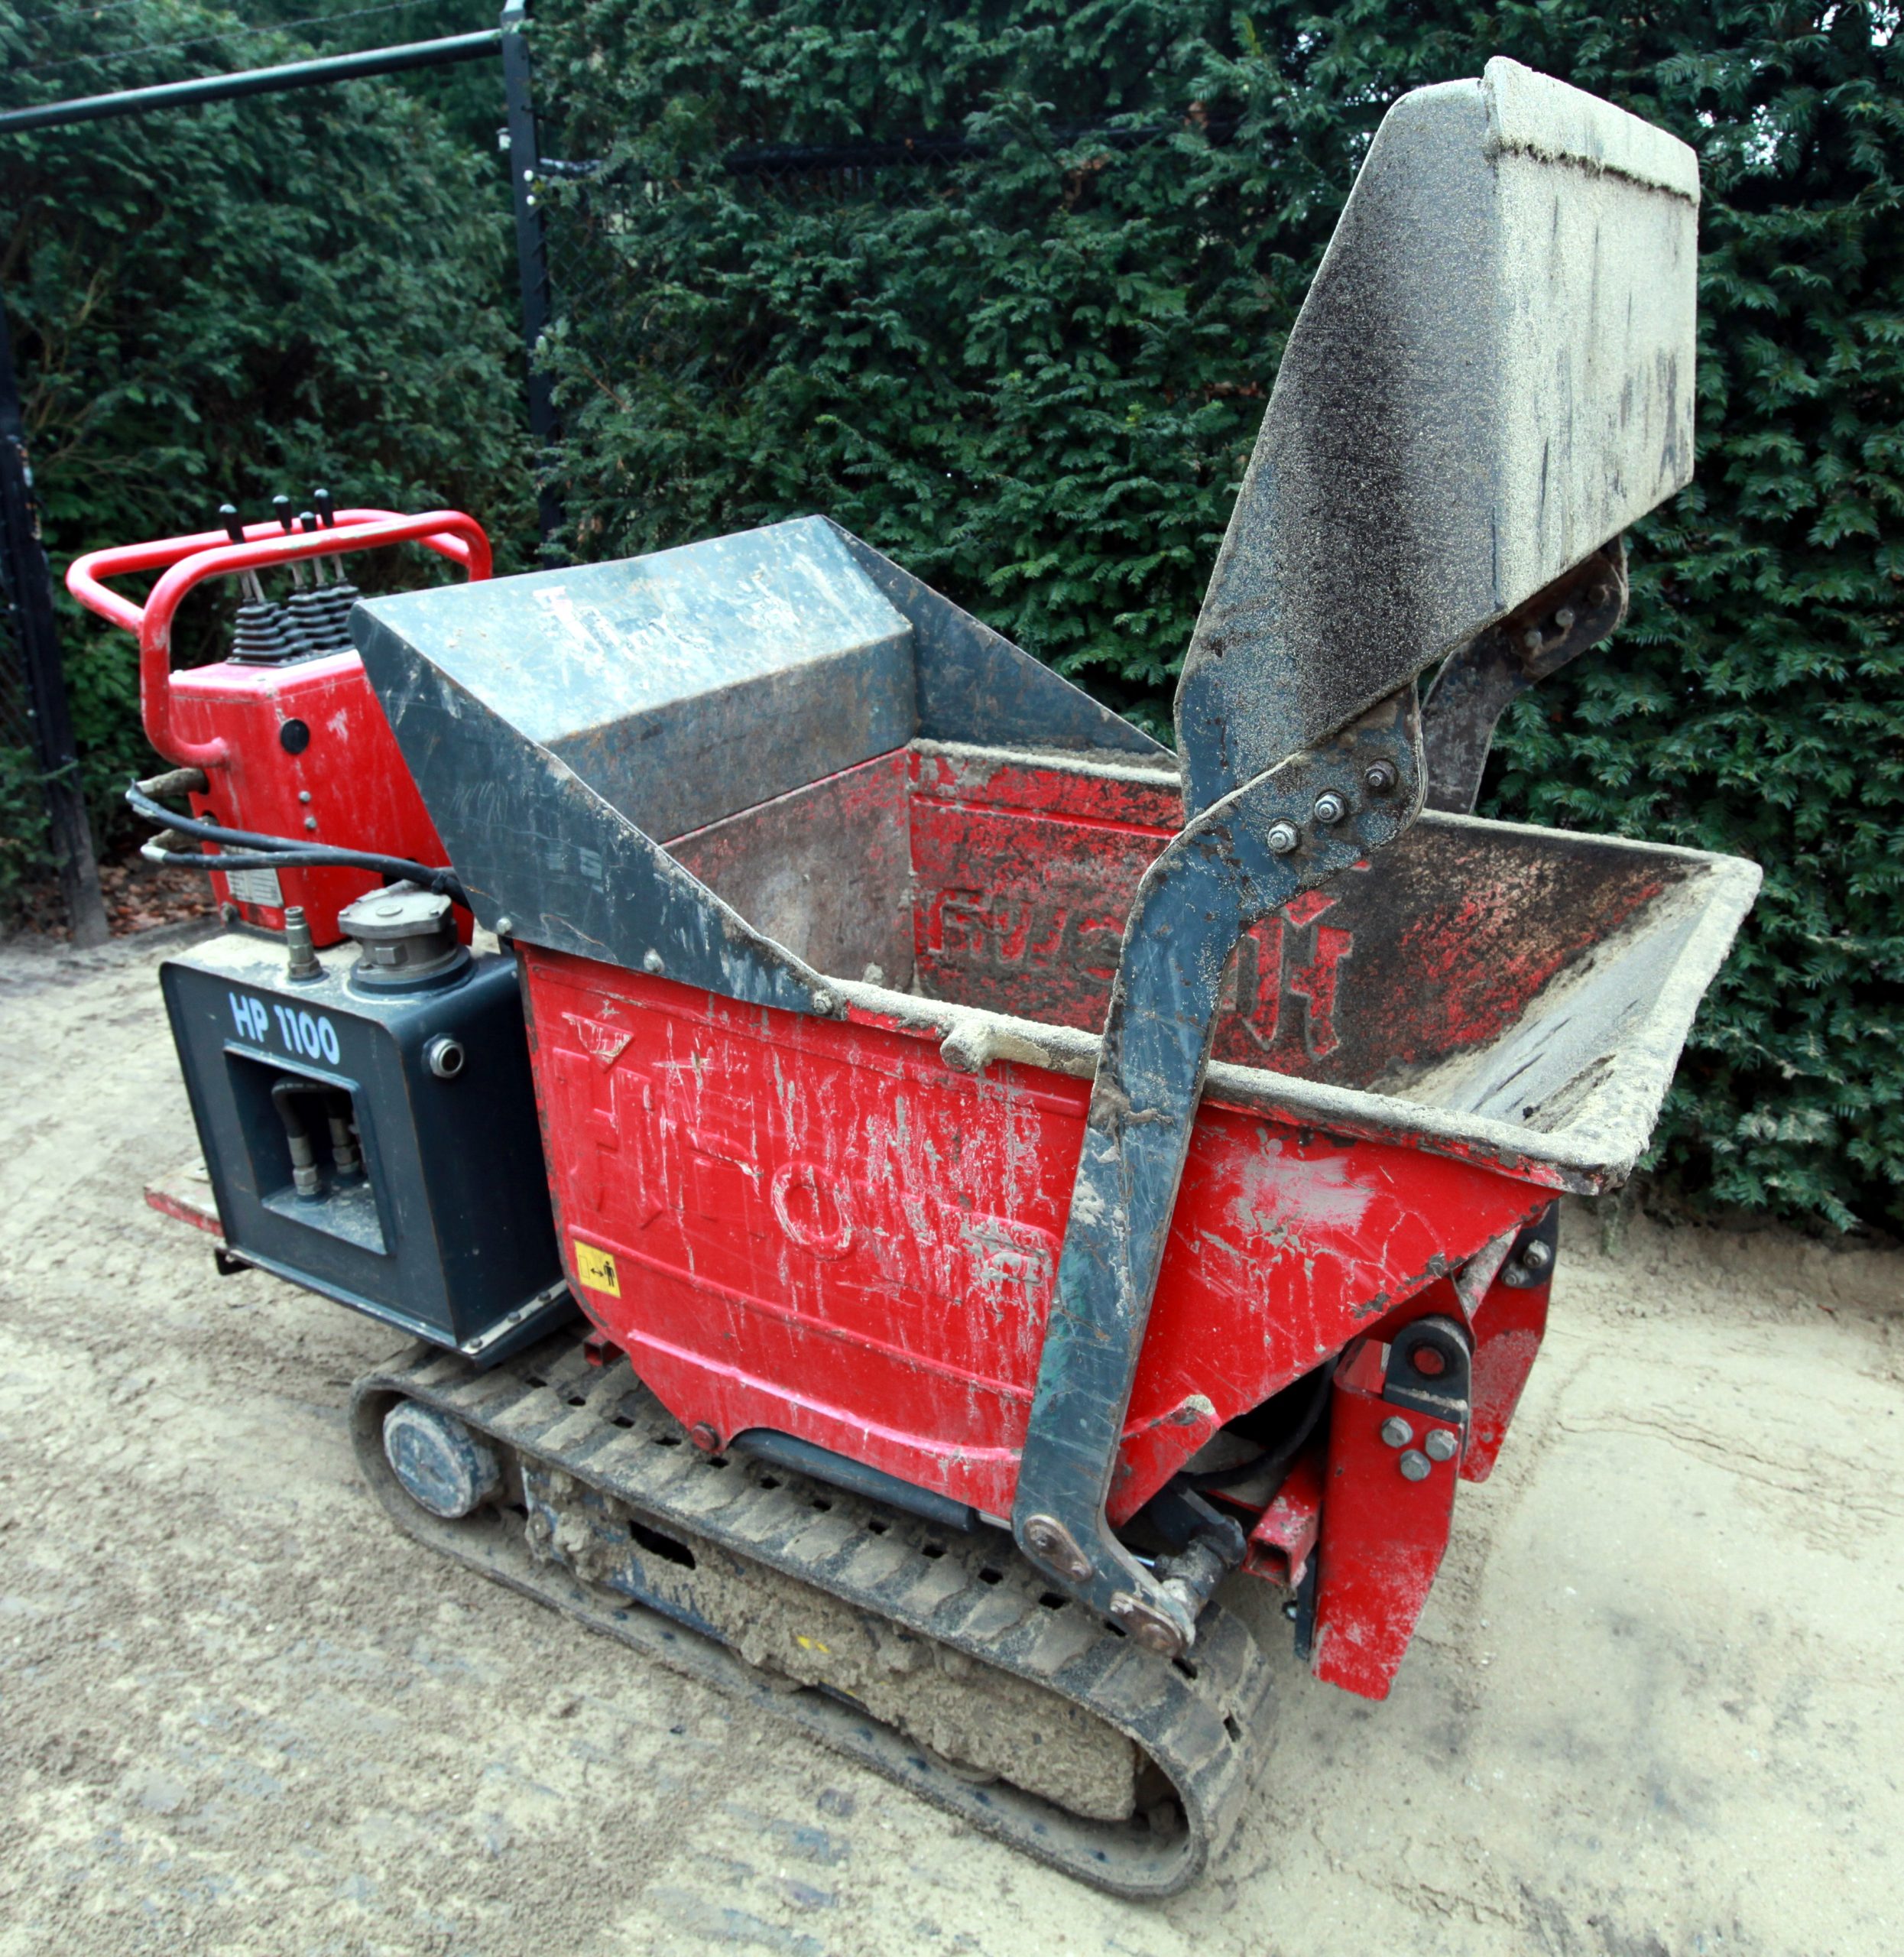
When there are several pallets, a sloped access, or blocks too heavy to be handled by hand, the real progress is not to “carry more each trip,” but to make each trip identical. Two-wheeled wheelbarrow, stable small cart, hand truck for calibrated elements, motorized tracked wheelbarrow or mini-dumper for a large flow: the right tool is the one that maintains the trajectory, avoids jolts, and eliminates unnecessary lifting. To compare equipment families before renting, Mecacraft tools give a good idea of the sizes truly useful in a narrow garden.
| Solution | Impact on lawn | When to choose it | Weak point |
|---|---|---|---|
| Classic wheelbarrow | Low to medium | Small volume, stone < 25 kg, short distance, dry access | Unstable if the load gets too high |
| Two-wheeled cart | Medium | Regular load, fairly flat route, access width greater than 80 cm | Turns less well in tight spaces |
| Hand truck | Low | Well-stacked slabs or blocks, smooth path | Not well suited for irregular stones |
| Plates + wheelbarrow | Low | Best homemade compromise, access less than 1 m | Requires some preparation |
| Motorized tracked wheelbarrow | Low to medium | Slope > 5%, fragile ground, repeated handling | Rental and size to anticipate |
| Mini-dumper | Low to medium | Large volume, repeated site, long distance | Turning radius and access to check |
The load guideline used in manual handling does not authorize carrying stones in a chain. As soon as you lift from the ground, twist your torso, repeat the motion, or move the load away from your body, the real margin quickly disappears. In gardening, it is better to lower the unit weight than to “keep” an overly ambitious pace.
Source: NIOSH; OSHA
Budget and handling cost
The right tool is not necessarily the cheapest per day, but the one that avoids two hours of lawn repair. In practice, you have to think in terms of overall cost: rental, time saved, and garden restoration. As a guideline, a track plate or a rigid panel costs little to rent or buy, whereas a motorized wheelbarrow or a mini-dumper becomes profitable as soon as the volume increases or access requires multiple trips.
- Simple protection: panels, thick OSB or construction plywood, an economical solution for occasional passage.
- Reinforced protection: track plates or honeycomb slabs, better suited for repeated passages.
- Assisted handling: tracked motorized wheelbarrow, useful as soon as slope, distance, and heavy stones accumulate.
- Delivery as close as possible: often the best hidden saving, as it reduces the number of manipulations.
Step-by-step site method
1. Test the soil first
The right time is not “when it stops raining,” but when the soil is workable. A simple indicator: soil ready to work crumbles; soil that is too wet sticks and deforms. If your footprint leaves a dark and shiny mark, or if soil sticks under your heel, the best action is to wait.
2. Organize zones before the first stone
Before starting, distinguish four areas: unloading zone, buffer zone, traffic corridor, and laying zone. This preparation avoids unnecessary back-and-forth and limits maneuvers in the middle of the lawn. The stone stock must remain compact, placed on a stable support, with the largest elements at the bottom to avoid tipping.
- Unloading zone: as close as possible to the truck or trailer access, without blocking passage.
- Buffer zone: to sort stones by size and order of laying.
- Traffic corridor: a single strip, marked from end to end.
- Laying zone: clean, clear, without parasitic storage.
3. Have delivery as close as possible
Reducing distance means reducing the number of trips. Request delivery as close as possible to the laying zone, without placing the load on the fragile part of the garden. Every meter saved eliminates lifts, turns, and tracks. This is often where the site becomes either clean or difficult.
4. Create a single traffic line
Now, enforce a single corridor. The idea is not to save every blade of grass, but to concentrate the stress on a controlled strip. Once the track is laid, everyone passes in the same place, in the same direction, without improvised shortcuts.
5. Break down loads
The fastest site is almost never the one where you load to the maximum. It is smoother to transport repeatable loads, easy to lift, push, and unload. On irregular natural stone, keep both hands free, avoid twisted grips, and only carry by hand what remains clearly stable. If some caps need to be trimmed or adjusted at the end of laying, the distinction between portable machine and workshop model can save you time; for a useful reminder, click here.
6. Avoid pivots on the grass
Unloading must be done at the end of the track, on an already prepared area, never by pivoting on the lawn. If space is lacking, add one more panel to form a maneuvering area. A lawn tolerates vertical pressure distributed better than a wheel spinning in place.
7. Think about the wall at the same time
A retaining wall does not forgive sloppy logistics. The wall needs a draining material, a proper base, and in many cases, a drain at the rear. The useful point for handling is simple: do not mix the traffic zone and the technical zone of the wall.
The stone stockpile, the draining backfill, and the tool paths must remain organized, otherwise the area where the wall is supposed to drain will become compacted.
8. Repair immediately after
Once the last stone is placed, remove the track, straighten the bent blades, brush off the small marks, then observe. If the strip has compacted, a mechanical aeration or coring, carried out when the grass is actively growing and the soil is only slightly moist, helps to reopen the profile. For cool-season grasses, the best window generally falls from late summer to early autumn.
If the area is marked but not torn up, a very fine leveling topsoil, slight reseeding, and a low-pressure roller are often enough to restore the lawn to an even surface. Then water with a fine spray, without soaking.
| Situation | Cleanest decision | Why |
|---|---|---|
| Dry and firm soil | Light track + small loads | The soil better supports traffic |
| Sticky or shiny soil | Postpone the work | Compaction becomes very likely |
| Long and narrow access | Single marked corridor | Fewer affected areas |
| Multiple pallets | Reinforced protection or mini-dumper | The number of passes explodes |
| Recent lawn | Avoid all traffic | The young grass is damaged very quickly |
| Sandy soil | Light track, wide supports | The ground bears better but scratches easily |
| Clay soil | Wait for clear drying, then protect more | Compaction is much faster there |
Difficult access: the real bottleneck
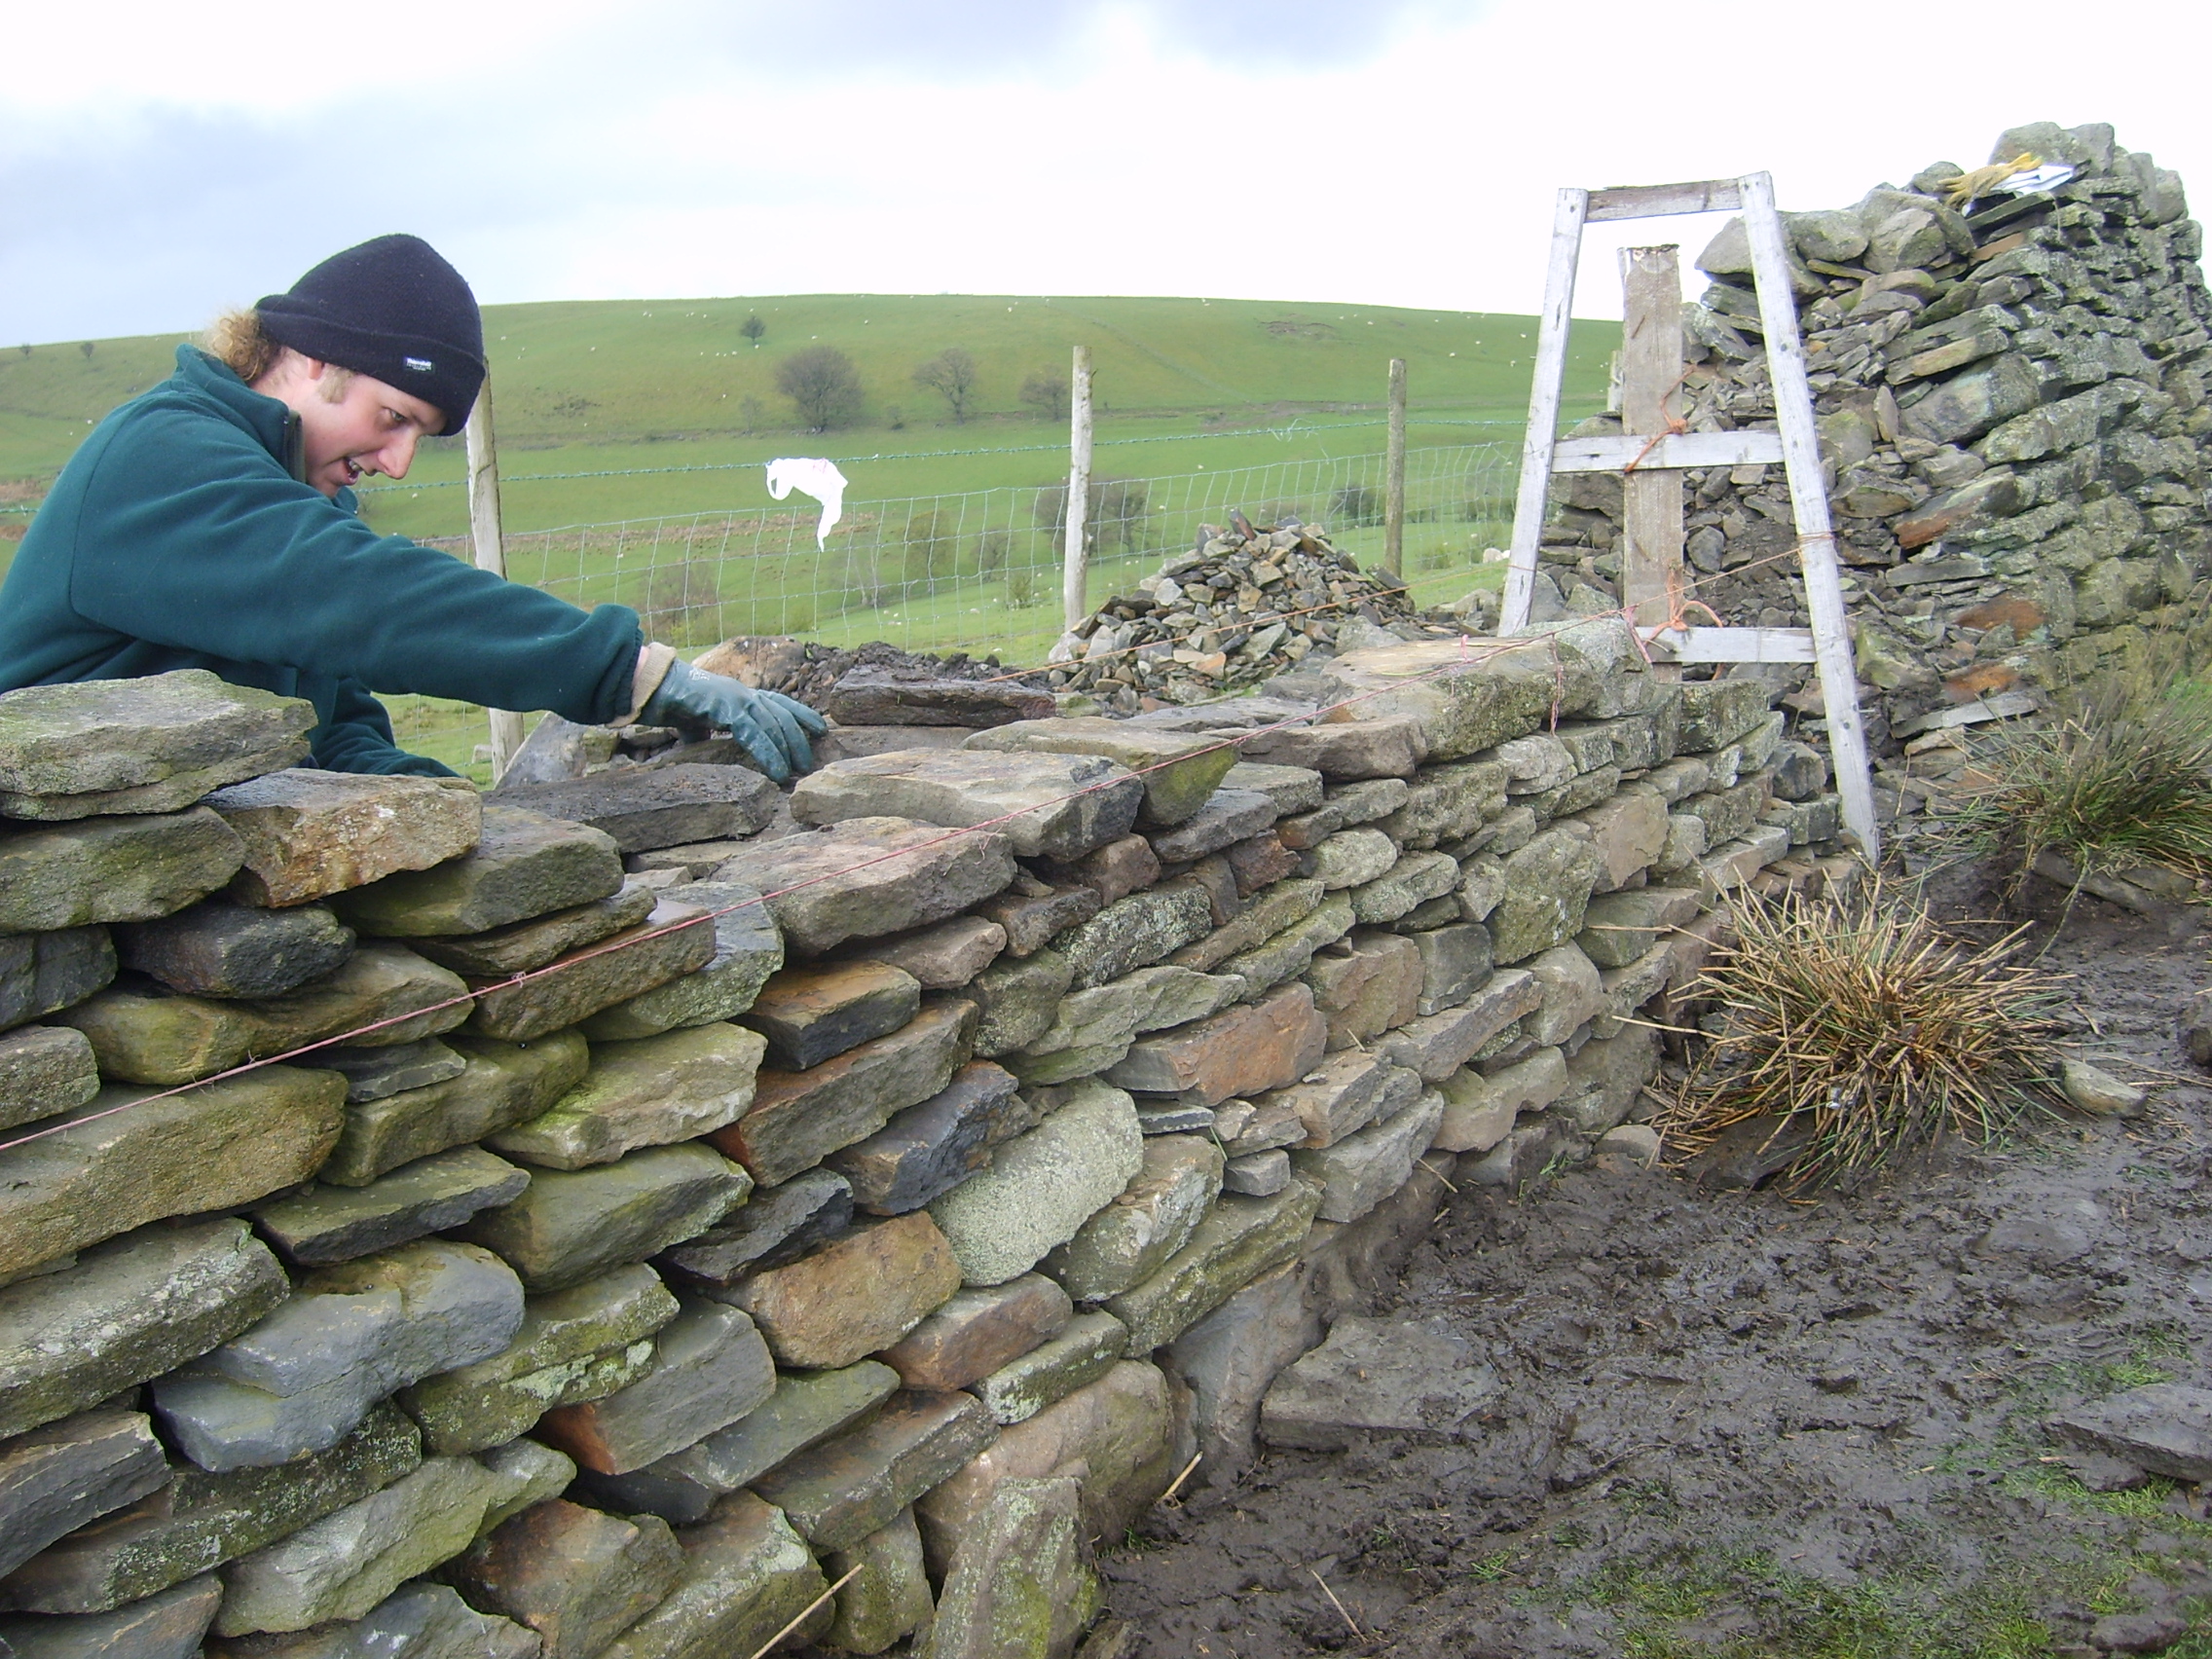
On site, the problem is not always the stone itself, but the access: narrow gate, L-shaped passage, slope, steps, lack of turning area, or alley bordered by flowerbeds. In these cases, it is sometimes necessary to give up free circulation and organize a transfer in several sections. A two-wheeled wheelbarrow can stabilize a straight path, but it becomes cumbersome in tight turns. Conversely, a mini-dumper is useful if the access remains wide enough for its size and if the turning radius is compatible with the garden.
Methodology, limits, and thresholds
How this recommendation was built
The above grid compares 6 handling solutions on 7 criteria: soil bearing capacity, risk of compaction, load stability, access width, repetition of passes, human fatigue, and lawn restoration. It is based on technical publications for the soil and lawn part, on manual handling benchmarks, then on installation guides for the constraints specific to retaining walls.
What this method does not replace
It does not replace a soil study, nor an opinion from a mason-landscaper, nor a local verification of regulations. For a low garden wall, well-drained, on visible ground, the logic remains simple. Beyond about 1.2 m, or as soon as the wall retains a trafficked area, a terrace, an alley, or a loaded slope, caution changes level. This height is not an absolute barrier but a practical threshold: the weight of the earth, water, and lateral pressures quickly become decisive, and the site logistics must be planned as a project in its own right.
The next step according to your case
- Small decorative wall: wait for drying, lay a track, and work with a light wheelbarrow.
- Real retaining wall: organize deposit, drainage, and circulation before the first stone.
- Clay soil: postpone more willingly; moisture quickly damages the lawn there.
- Large volume: rent stable equipment earlier rather than compensating with brute force.
- Very constrained access: have delivery as close as possible, even if it costs a bit more, because you will save on handling.
- Post-construction: aerate, reseed if needed, and treat the compacted strip without waiting for the next season.
For maintenance of the surroundings after installation, and to avoid buying two tools that do the same thing, a small selection of useful equipment is to read here.
Practical FAQ on the subject
How to transport stones without damaging the lawn?
In three steps: wait for the ground to dry, lay down a continuous temporary track, then transport smaller but regular loads. The goal is to concentrate traffic on a single protected strip.
Should you wait several days after the rain?
Not necessarily a fixed number of days. The good indicator is the condition of the soil: if it sticks, shines, or deforms under the heel, wait longer. Soil suitable for work should crumble rather than become plasticized.
Is plywood enough to protect the lawn?
For small occasional traffic, yes, it helps to distribute the load. For repeated passages, heavy equipment, or already fragile soil, thicker protections like rolling plates are safer.
Which protection to choose depending on the terrain?
On healthy and dry grass, rigid panels may suffice. On clay soil, favor a real rolling track. On freshly sown lawn, avoid all traffic. On sandy soil, the issue is less compaction than tracks and tearing on turns.
Is it better to have several small loads than one big trip?
Yes. A light load keeps the wheelbarrow stable, reduces fatigue, and limits wheel jolts at start and stop. Often, work is faster overall by limiting the unit weight.
From what individual weight should you avoid carrying by hand?
As soon as a stone becomes difficult to grasp, slippery, or heavy to balance, it is better to switch to two people, a hand truck, or a wheelbarrow. In practice, beyond about 25 kg per piece, comfort and safety quickly decrease if the shape is irregular.
Can you go over a recently sown lawn?
To be avoided. Young grass does not yet have the necessary anchoring to withstand a worksite and deteriorates quickly until it has been mowed several times.
How to repair a compacted strip after work?
Start by lifting the blades and leveling small deformations. If the area is really hard, mechanical aeration or coring helps to reopen the soil. Then add a leveling topsoil, fill in the gaps, roll lightly, then water regularly during recovery.
Should the route be varied at each passage?
No during the work. It is better to confine traffic to a single protected strip than to spread passages everywhere. The regularity of the route better protects the garden.
From when should the wall be checked?
As soon as the wall exceeds about 1.2 m, bears an overload, or is near traffic, a terrace, or a building. At these levels, drainage and reinforced design quickly become essential.
Is the drain behind the wall really useful?
Yes, in many cases. A retaining wall needs a draining material and, depending on height or conditions, a rear drain to remain durable. Without this, water increases the pressure on the structure.
What to do if the access is too narrow for a motorized wheelbarrow?
It is better to stick to a classic wheelbarrow, handling with smaller bins, or split delivery as close as possible. On an L-shaped access or with a tight gate, a machine that is too wide sometimes causes more damage than savings.