
Sommaire
| Key points | Details to remember |
|---|---|
| 🔇 | Acoustic insulation: reduce sound vibrations between inside and outside. |
| 🎯 | Auditory comfort, boost in productivity and increased real estate value. |
| 💰 | Average budget ranging between €500 and €5,000 depending on the scope of the project. |
| ⚙️ | Absorbing panels, wood structures and heavy membranes. |
| 🛠️ | Assessment, step-by-step installation and careful finishing. |
| ✅ | Measurable noise reduction and a more peaceful environment. |
Creating a soundproof room may seem intimidating, but with some basic knowledge and a clear method, you solve much more than your noise problems: you gain comfort and versatility. Whether you want to set up a home studio, arrange a meeting room, or simply isolate yourself from urban noise, this guide will support you from budget estimation to the finishing touch.
Why soundproof a room?
One might think that adding a few cushions is enough to muffle sound, but in reality, effective soundproofing relies on combining several layers and materials. The goal is not just to lower the volume but to control low, mid, and high frequencies to create a healthy environment. For a musician, this ensures clean recordings; in a child’s bedroom, preserved sleep; in an office, enhanced concentration.
- Attenuation of neighborhood and traffic noise.
- Reduction of internal echoes and reverberations.
- Hearing protection and better sound quality (for a studio).
- Increased property value thanks to improved comfort.
Basics and budget: how to plan your work
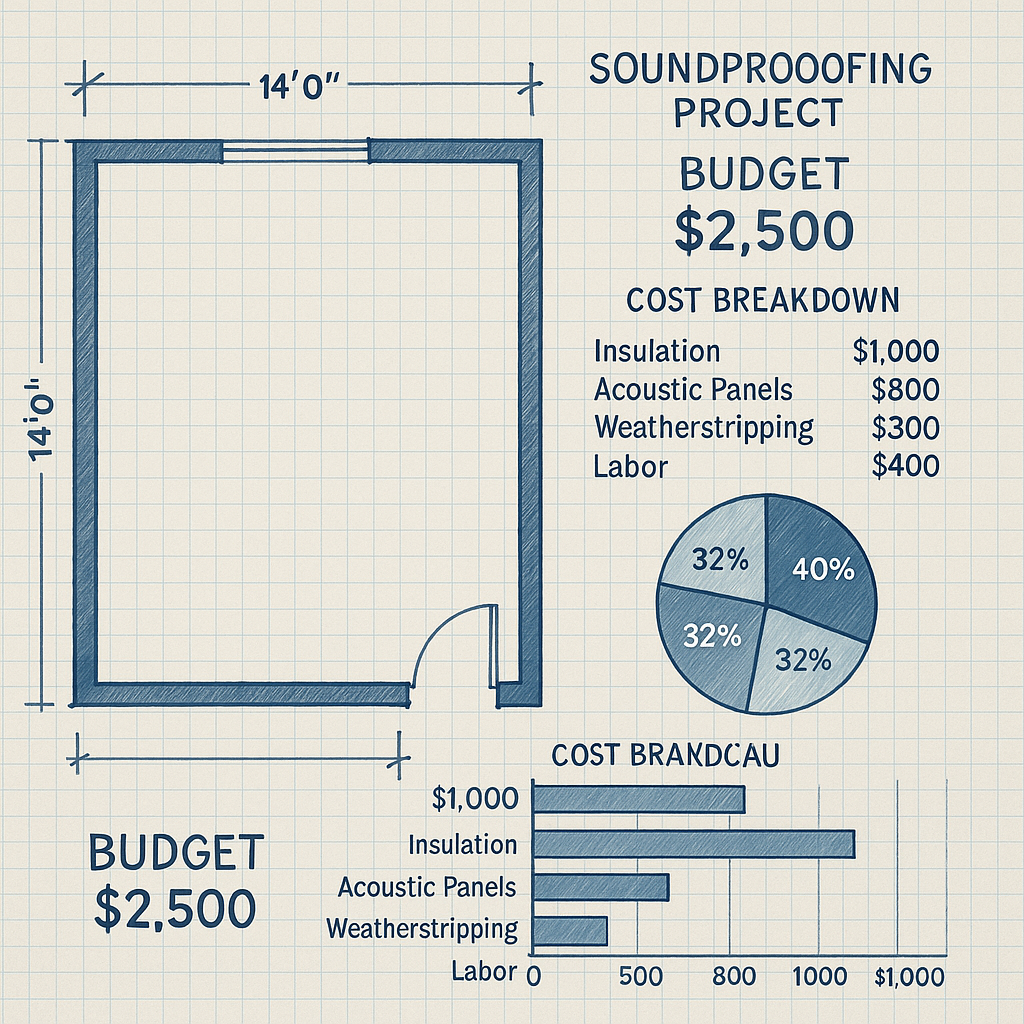
The budget depends primarily on the surface area to be treated and the thickness of the chosen materials. A small 4 m² booth will cost around €500, whereas a 20 m² living room can reach €3,000–5,000 if opting for professional membranes. At this stage, evaluate:
- The nature of the nuisances (low frequency vs ambient noise).
- Structural constraints (load-bearing walls, false ceilings).
- The desired level of finishing (paint, textile coverings).
| Materials | Cost (€ / m²) / Rw |
|---|---|
| Rock wool 40 mm | 10 / 38 dB |
| Acoustic foam 50 mm | 12 / 30 dB |
| Heavy membrane (Mass Loaded Vinyl) | 25 / 42 dB |
| Insulating plasterboard | 15 / 35 dB |
| Metal rails & framework | 8 / – |
Essential materials and tools
Structure and supports
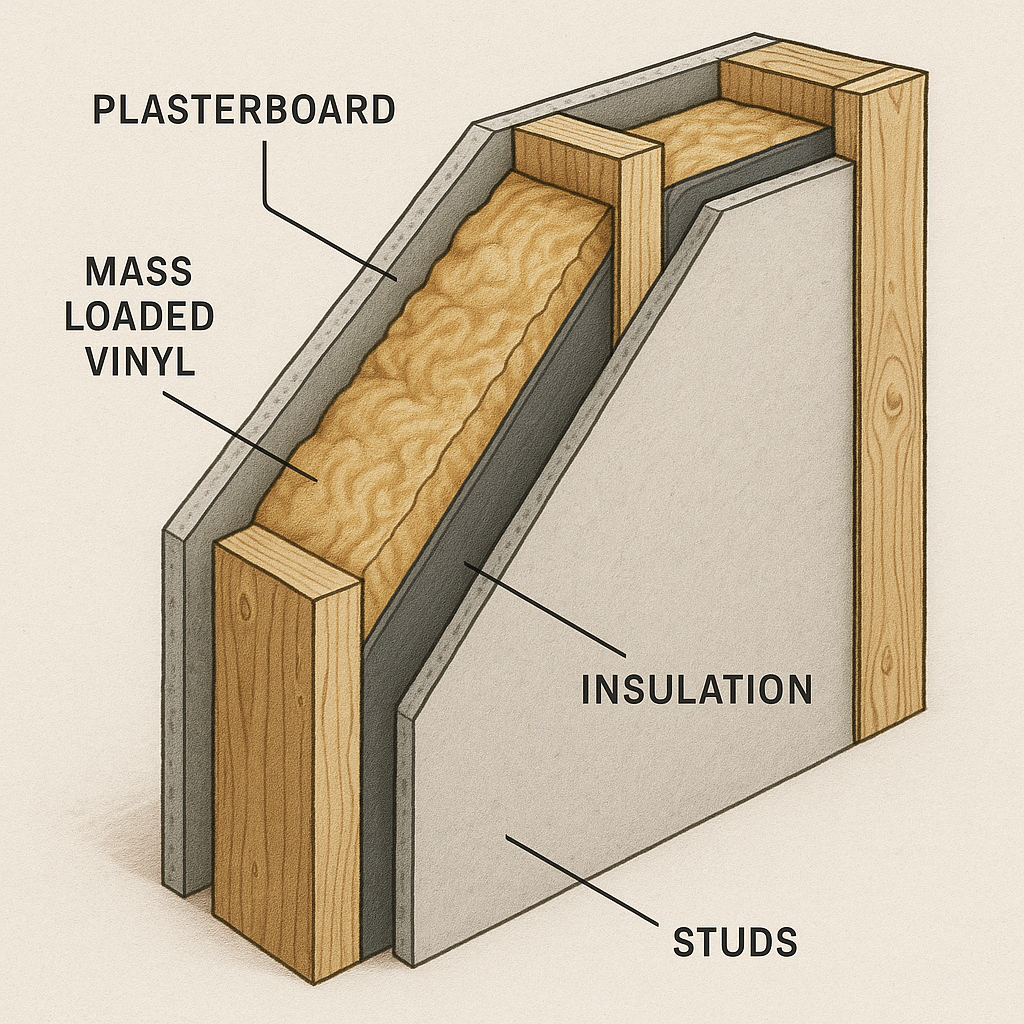
To fix each layer, a wooden frame or metal profiles are generally used. The studs must be placed 60 cm from center to center to ensure rigidity. A gap of 2 to 5 cm from the existing wall is recommended to create an air cavity that favors acoustic performance.
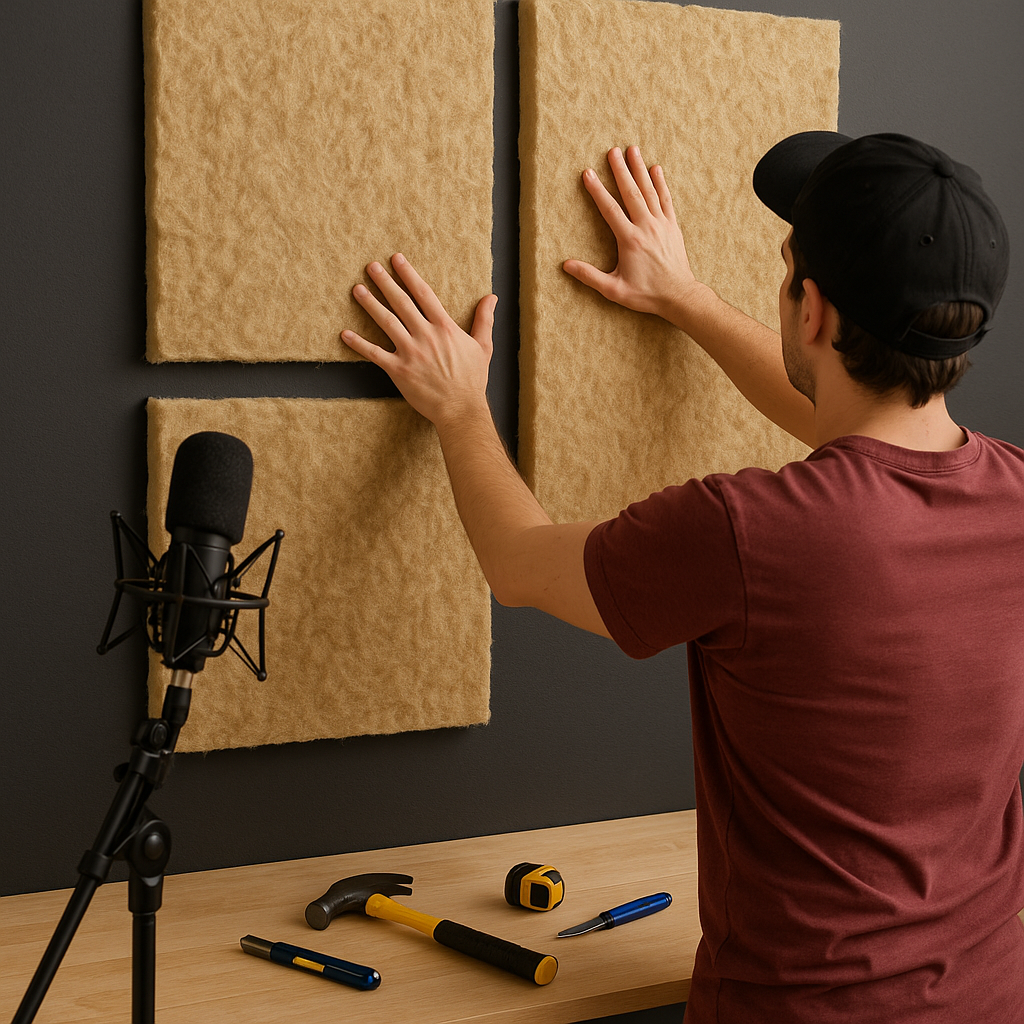
Insulating and absorbing panels
Rock wool or glass wool insulates low frequencies, while polyurethane foams limit high-pitched resonances. For a homogeneous result, layers are stacked:
- A first thick layer (mineral wool).
- A weighted heavy membrane (Mass Loaded Vinyl).
- High-density plasterboard panels.
Accessories and finishing touches
Often overlooked, joints and sealants ensure acoustic tightness. Plan for:
- Acoustic acrylic sealant to fill every crack.
- Resilient tape to place between studs and plasterboard sheets.
- Vapor barrier if the room is subject to high humidity.
In terms of tools, an electric screwdriver, a spirit level, and a handsaw are sufficient. For a neat job, add a cutter to precisely adjust the panels.
Easy steps to carry out your soundproofing
1. Assessment and preparation
Start by measuring the room and noting the source of the noises. A simple smartphone equipped with a decibel measurement app already gives a first idea. Then establish a scaled plan where each wall to be treated is identified.
2. Frame assembly
Fix the rails to the floor and ceiling, level them, then insert the vertical studs. Do not hesitate to add metal braces to limit vibration transmission.
3. Installing the insulation
Cut the mineral wool to the desired height. Insert it into the structure without compressing it: thickness determines effectiveness. Let it slightly protrude to ensure uniform contact with the plasterboard.
4. Applying membranes and boards
Unroll the heavy membrane making sure it does not wrinkle. A staple gun or double-sided adhesive can temporarily hold the roll before final closure. Then carefully screw the plasterboard sheets.
5. Finishing and control
After filling the screw holes and applying sealant, lightly sand to obtain a smooth surface. Finally, test the effectiveness using your app: you should notice a significant attenuation, often around 20 to 30 dB depending on the type of nuisance.
Practical tips and tricks
Some details make all the difference:
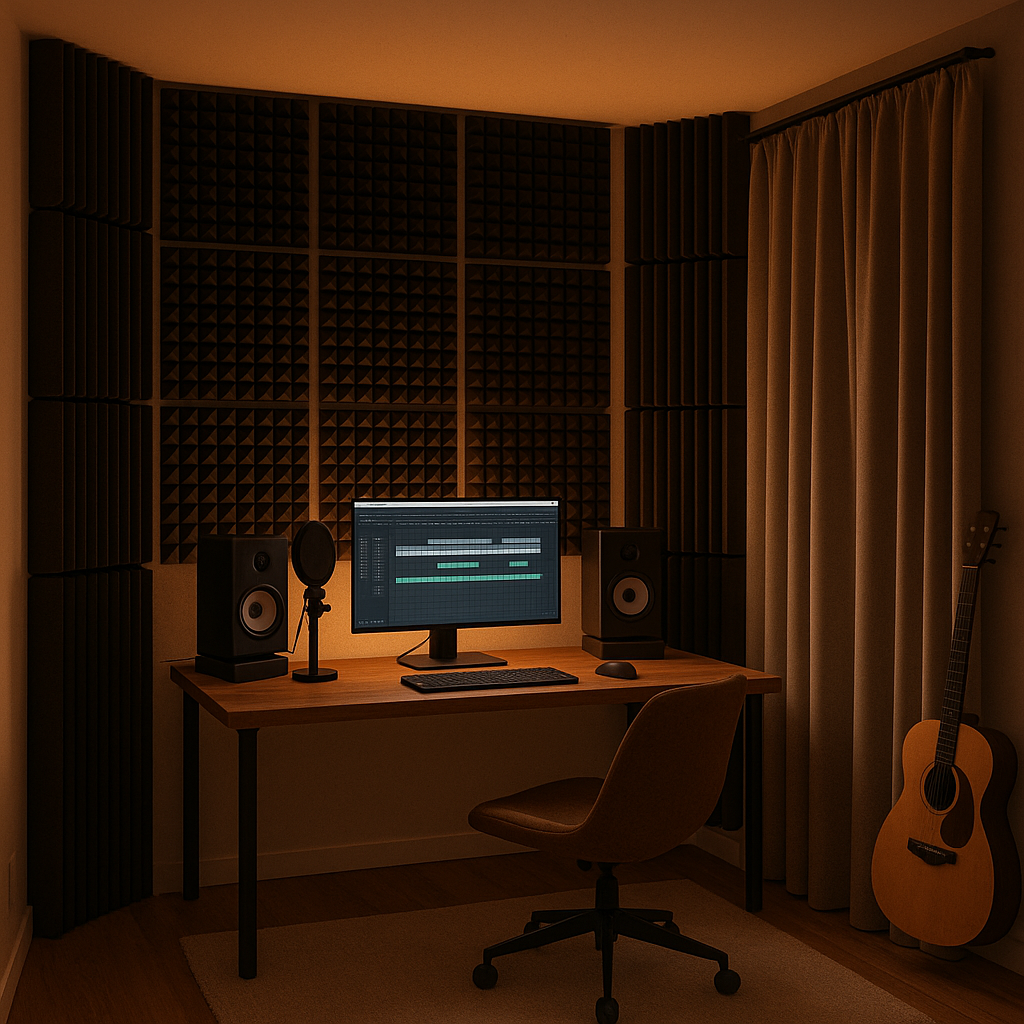
- Treat first the corners where waves accumulate (bass traps).
- Install heavy curtains on windows to complement insulation.
- Avoid hollow furniture in direct contact with walls: prefer shelves filled with books as additional absorbers.
FAQ
What budget to plan for a small room?
If the surface does not exceed 10 m² and you opt for standard materials, count about €800 to €1,200, including tools.
Can I do the soundproofing myself?
Absolutely. The process remains accessible as long as you follow the assembly steps carefully and choose materials suited to your skill level.
What Rw index to aim for optimal comfort?
An Rw above 40 dB is generally considered satisfactory for domestic use; it rises to 45–50 dB for a professional home studio.
Should doors and windows be replaced?
An insulating door or a thick window frame significantly improves overall performance, but these works can remain optional if your room is already of good quality.
What is the difference between insulation and absorption?
Insulation blocks transmission from one space to another, while absorption reduces echoes inside the room itself.